“Larding: The process of adding fat to cuts of meat or certain types of fish to make them more moist or tender.” from Larousse Gastronomique (2009 edition).
In French Cooking for Americans (1946), Louis Diat begins his directions for making both bœuf à la mode and boeuf en daube (two braised dishes using less-tender cuts of beef) with the suggestion: “Have butcher lard beef with strips of larding pork.” With enough foresight and the acquaintance of a willing butcher, one can certainly do this.
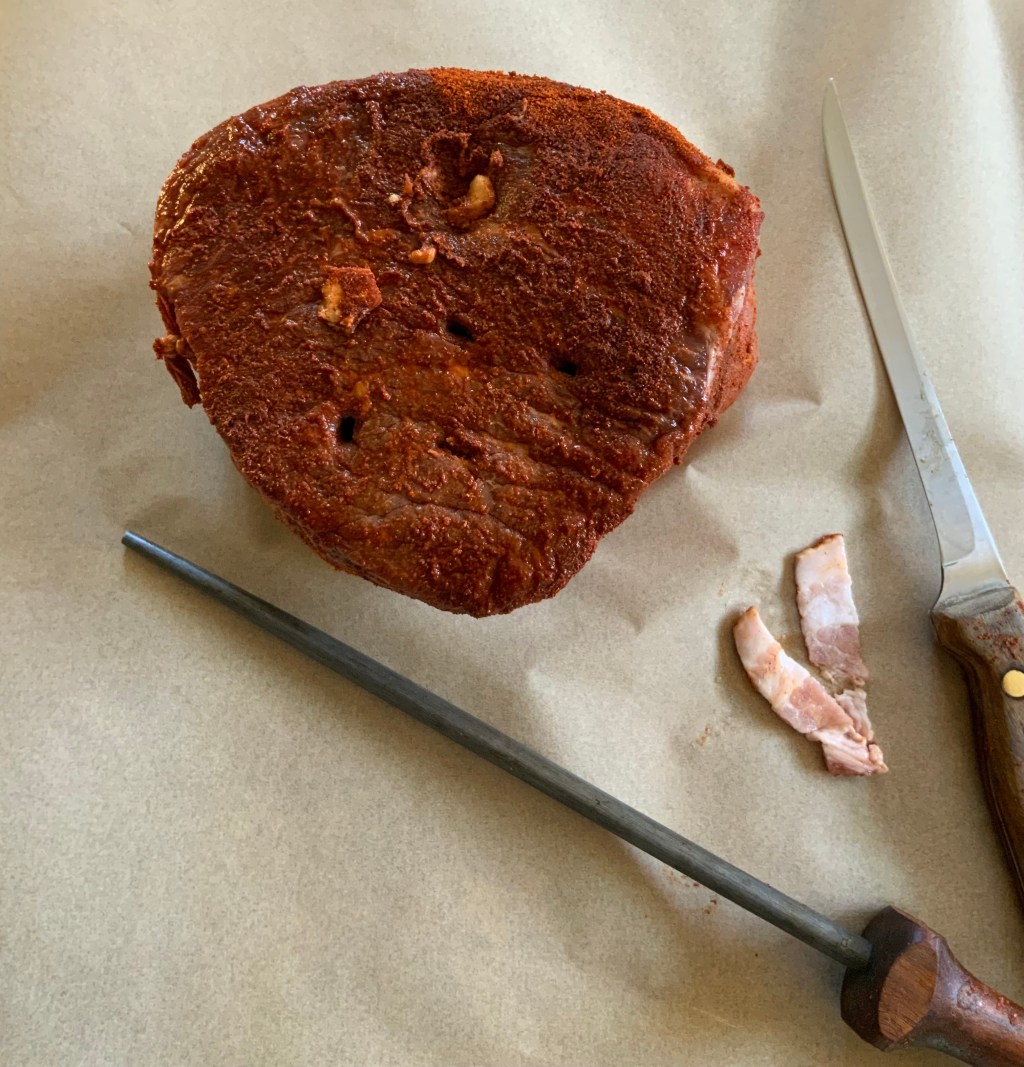
However, larding is not difficult to master and your handiwork need not be a thing of beauty. It may be done, without a larding needle, with a thin-pointed knife, a rod-style knife sharpener and your finger.
My impression–and it is only an impression–is that larding is little used these days by home cooks, who favour, instead, laying strips of bacon over the meat for braising or roasting. But the technique deserves a revival. By working thin strips of bacon into the center of a lean cut of meat, fat melts within the meat, keeping the interior juicy. Larding spreads fat through the roast’s lean areas, whereas bacon strips only affect the outer layer. It enriches the entire piece of meat.
The essential point is to work the strips deep inside the meat so they don’t work their way out during roasting or braising
Equipment
- a Boning Knife or any Knife with a narrow, sharp, and slightly flexible blade
- a Rod-Style Knife Sharpener
Ingredients
- Meat to the larded
- 12 Lardons cut from Sugarless Bacon (strips about 1/4-inch (2.5 cm) wide). Place the 12 strips in the freezer to partially freeze them. They slip into the roast more easily when they are less flexible.
Larding
This method of larding is one used for any roast. The cut in the photo is a bottom round of beef.
- Place the roast on end and, with the knife, make six evenly spaced horizontal slits down into the roast towards or beyond its center.
- Enlarge each hole with the knife sharpener.
- Work a semi-firm, lightly frozen lardon into a hole and push it deep into the hole with your finger. The lardon will not slip out as the roast cooks if it is pressed well down into the hole. Repeat, enlarging the rest of the slits and placing a lardon in each one.
- Turn the roast over and repeat, making six slits, enlarging and tucking a lardon into each one.


Leave a comment