Many traditional European and American breads use some form of pre-fermentation, which simply means that a part of the flour, water and yeast is mixed together and allowed to ferment before adding it to the rest of the dough ingredients. There are a number of different types of pre-fermentation. But in general, pre-fermentation will naturally prolong a loaf’s shelf-life and may also deepen its flavour and give it an exceptionally nice crust. All of these benefits are good reasons to become familiar with making breads with a pre-ferment.
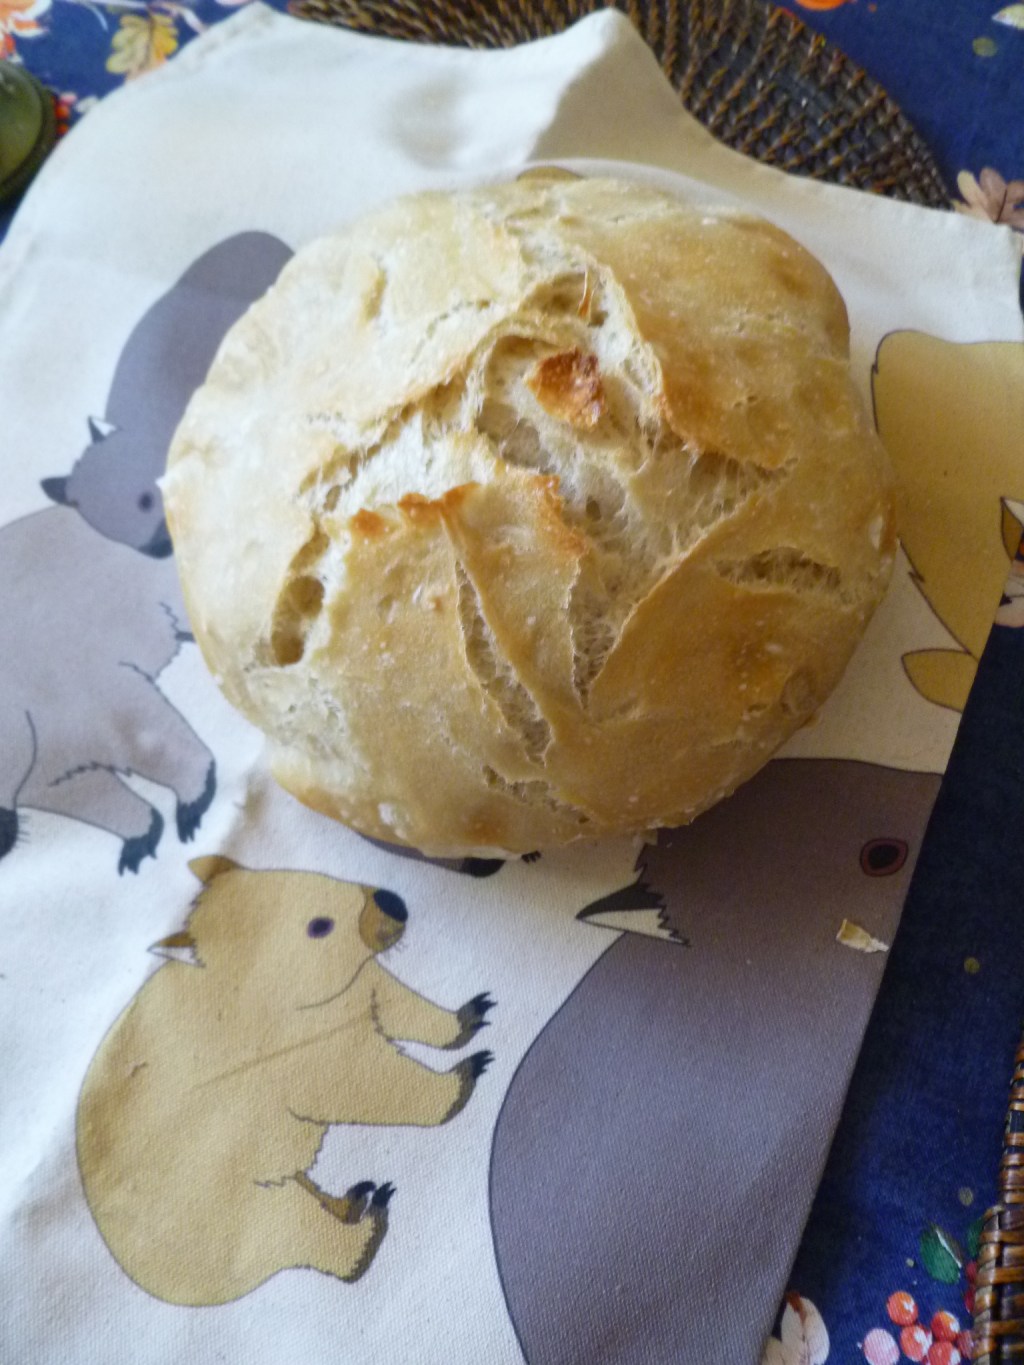
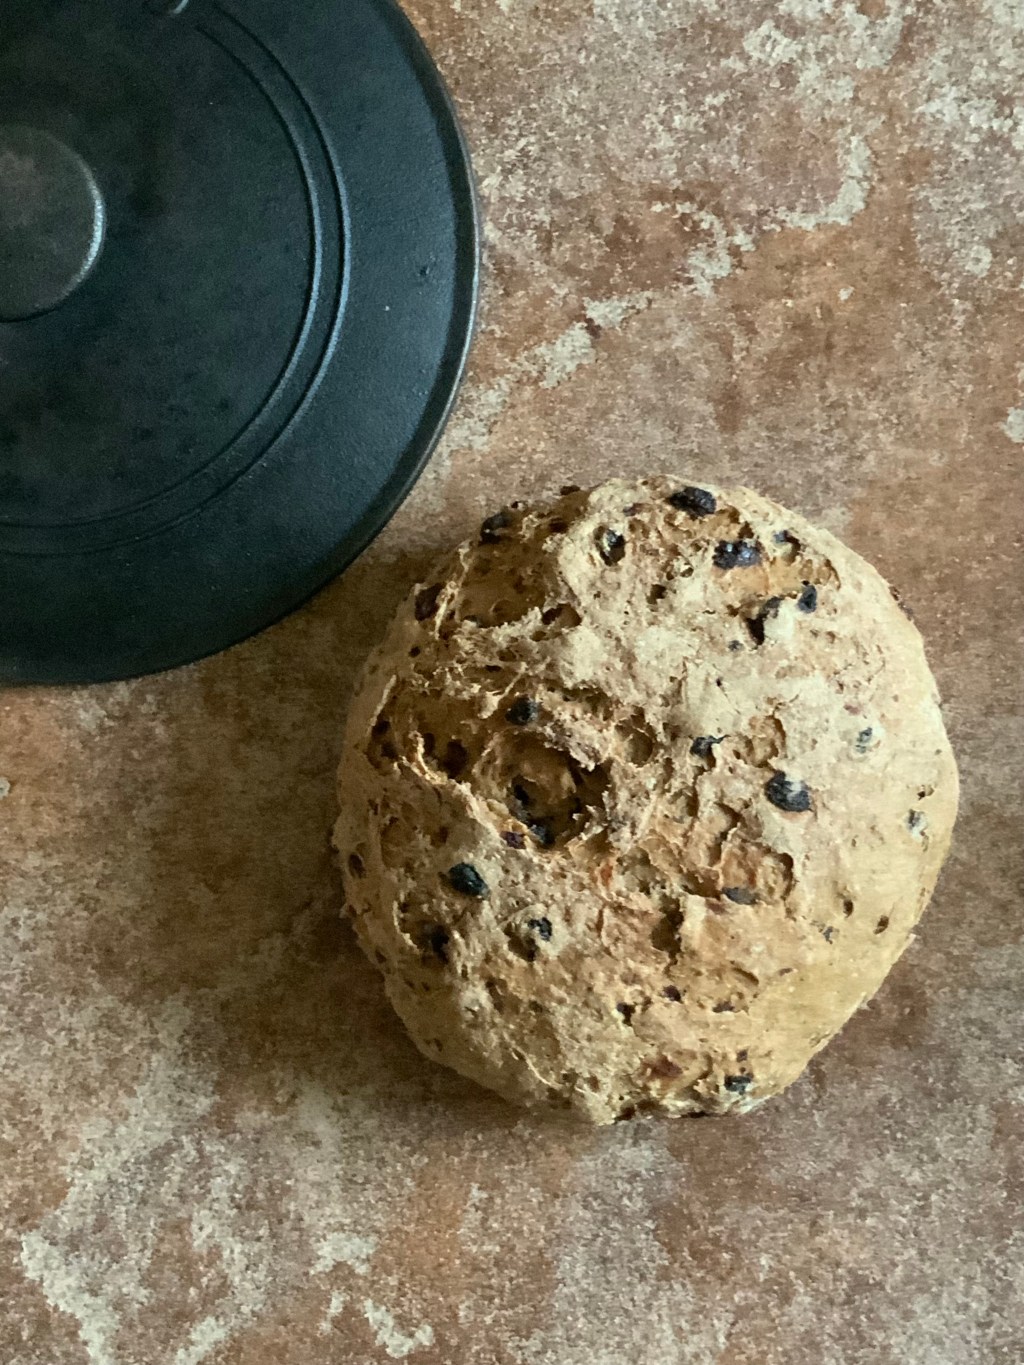
This Country White Loaf uses an Italian pre-ferment: “biga”. The recipe also provides an opportunity to learn a method of baking bread in a form–in this case, a cast iron Dutch oven. This technique is often used for very soft, elastic doughs that would otherwise spread out over the pan and lose their shape and volume.
You may click on these links to read about the less-processed options used in this recipe: Flour, Water, Salt.
Equipment
- a Kitchen Scale
- a Cast Iron Dutch Oven
- 2 Large Mixing Bowls
- Parchment Paper
- a Pastry Board
- a Shallow Rectangular Platter
- thefoodlessprocessed uses a Standing Mixer and Paddle Attachment for kneading the dough. It may be done by hand instead.
Ingredients for the Biga
- 320 gm French or Italian All-Purpose Flour or substitute Organic White All-Purpose Hard Wheat Flour. American white flour is usually from hard wheat.
- 224 ml Well Water or Bottled Spring Water (heated until warm to the touch)
- about 2 pinches of SAF-Instant Yeast
Ingredients for the Dough
- 80 gm European Soft Wheat All-Purpose White Flour or substitute Organic White All-Purpose Hard Wheat Flour. American white flour is usually from hard wheat.
- 50 gm Well Water or Bottled Spring Water (heated until warm to the touch)
- 7 gm Sea Salt
- 8 gm or 1/4 teaspoon SAF-Instant Yeast
Making the Biga the Day before Baking
- Add 224 gm of water to one of the mixing bowls and 2 pinches of instant yeast.
- Add 320 gm of white flour and mix well.
- Cover and leave at room temperature overnight.
Mixing, Proofing, Working, Forming and Baking the Bread the Following Day
Mixing
- In one bowl, mix together the 80 gm of white flour, 50 gm of warm water, and 8 gm of yeast.
- Sprinkle the 7 gm of sea salt over the bowl of biga mixture and then top the biga mixture with the dough mixture. Mix together well until the texture of the dough becomes more elastic. It will still be sticky. (A dough described as ‘still sticky’, after kneading, will be elastic, as well, and will pull away from the sides of the bowl. If the dough is only sticky, it needs more kneading,)
Proofing and Working
- Cover the dough and leave it at room temperature until it begins to rise. In appearance it will become puffier and some air bubbles will appear on the surface. A time estimate for this is about 45 minutes. But, as a knowledgeable breadmaker advised, “Watch the dough, not the clock.”
- Work the dough: (The dough is sticky. It will be easier to work it if you moisten your hands.) Imagine the round shape as having 4 sides. Pick up the top side and stretch it up and down toward the bottom side. Pick up the bottom side and stretch it up toward the top side. Pick up the right side, stretch it up and over to the left side. Pick up the left side and stretch it up and over to the right. Stretch all four sides of the dough in this way once more. The purpose of all this stretching is simply to make the dough smoother and more elastic. It is not an exact procedure.
- Cover the dough and let it rest at room temperature for about 45 minutes. Then repeat the process of stretching the dough in the same manner as before. Cover and again let it rest at room temperature for another 45 minutes.
- Butter the platter.
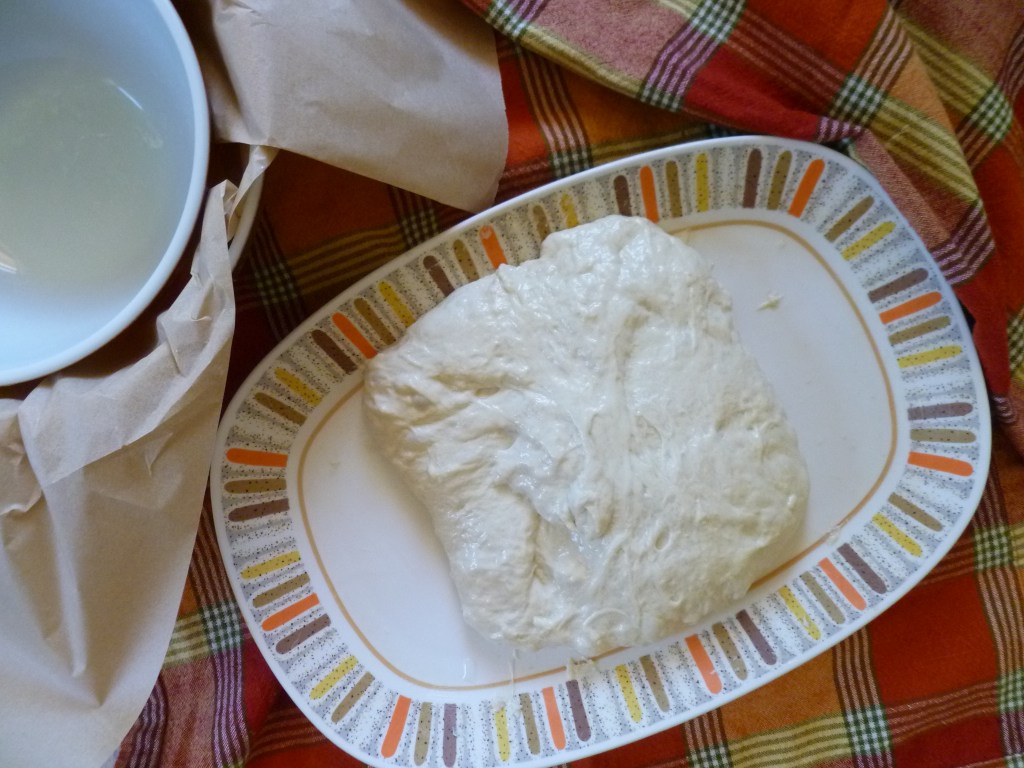
- Turn the dough out onto the platter. Press the dough out into a rectangle.
- Bring the left side of the dough 2/3 over toward the right side. Bring the right side of the dough over to cover the folded 2/3. Bring the top side down 2/3 toward the bottom of the dough and bring the bottom of the dough up to cover the folded 2/3. This creates a package shape. Cover and let the dough rise on the platter for 30 minutes.
Making the Parchment Lining and Forming the Loaf
- Cut off a large sheet of parchment paper. The exact size is unimportant, but it should be large enough to come up beyond the sides of both the large mixing bowl or the Dutch oven.
- Then fold this rectangle to form a rough triangle. Fold it again into a smaller triangle.
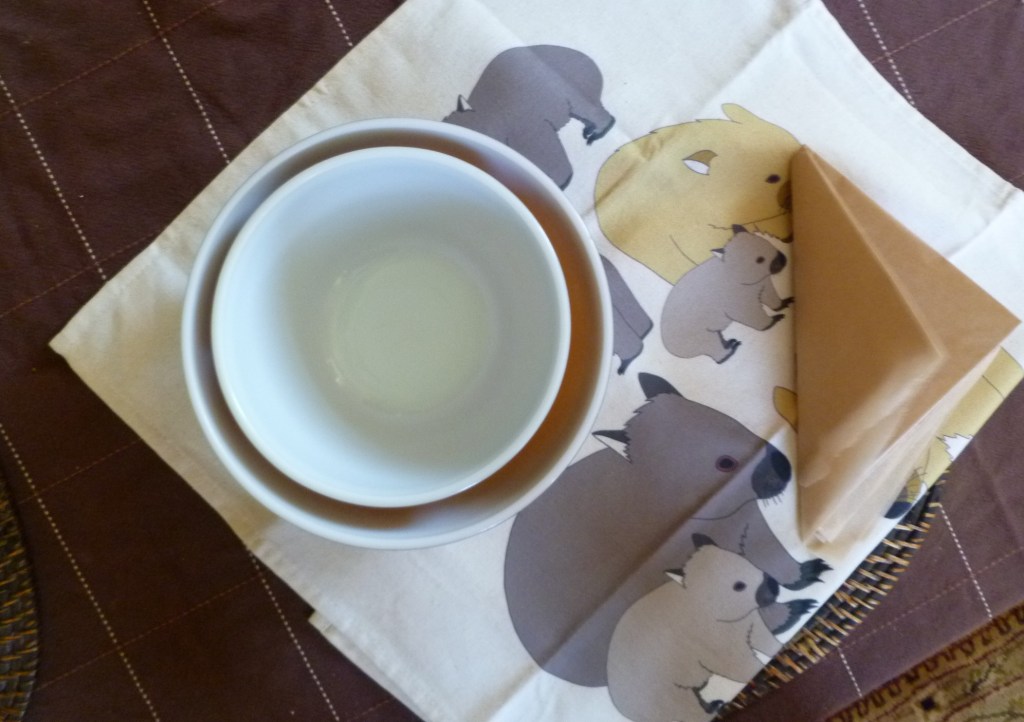
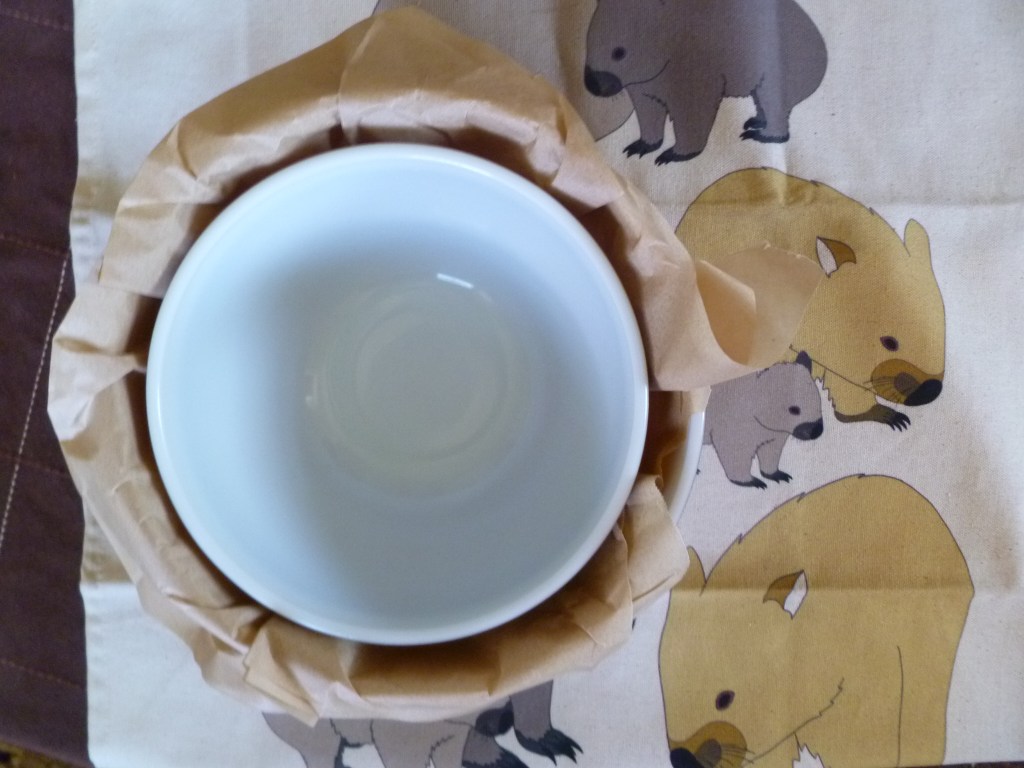
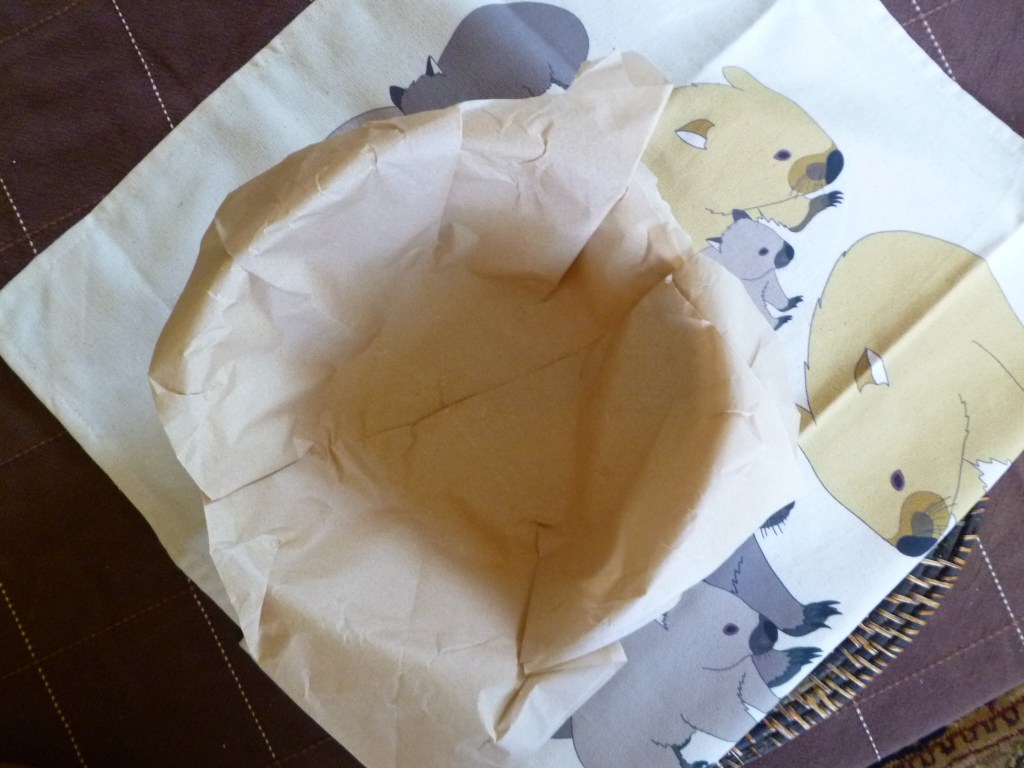
- Place the narrow point of the triangle down in the center of the large mixing bowl and unfold the paper into the bowl, pressing the pleats out and moulding the paper to fit the bowl. Place the smaller mixing bowl down onto the paper and fold the pointed edges of the paper down around the sides of the large bowl. Remove the smaller bowl.
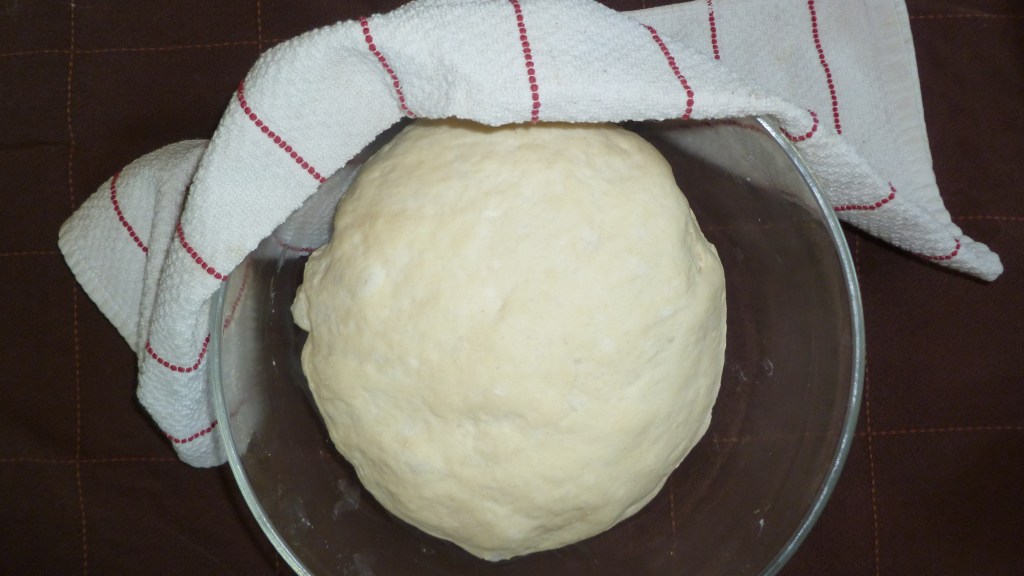
- The dough will be left to rise once more in this lined bowl. Flour the pastry board. Turn out the packet of dough onto the board and shape it into a round loaf by stretching the sides of the dough under to tighten the ball as you rotate it clockwise.
- Place the dough, smooth side up, down into the lined bowl. Cover it and let it rise at room temperature until it has about doubled in size.
Baking
Gas or Convection Oven: thefoodlessprocessed uses a gas oven. The conversions from Fahrenheit to Celsius do not attempt to adjust for differences between baking in a gas or convection oven. I have no experience using a convection oven, and leave adjustments to the better judgement of you who do have.
- The raised dough will not be taken out of its parchment nest before baking. Still in the paper, it will be transferred directly to the Dutch oven. This will help the loaf keep its shape and volume and it will not stick to the sides of the Dutch oven when it bakes. There is no need to butter either the Dutch oven or the paper.
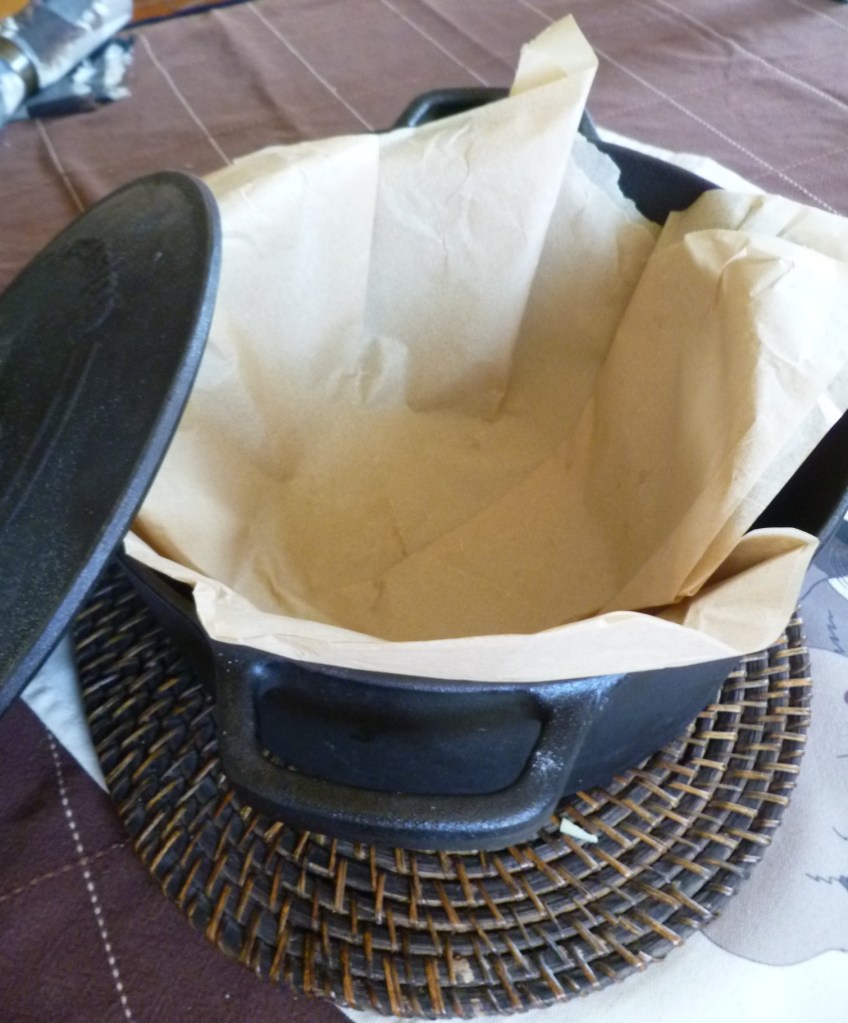
- Put the lid on the Dutch oven and preheat it on the lower middle rack of the oven at 240 C (460 F) for 30 minutes.
- When it is preheated, remove it from the oven, set the lid to one side and transfer the raised dough to the Dutch oven by lifting it up by the edges of the parchment and lowering it down, parchment and all, into the oven. Replace the lid.
- Place the Dutch oven back on the lower middle rack and bake the bread at 240 C/460 F for 18 minutes.
- Remove the lid. Lower the heat to 230 C/450 F and continue baking for about 8 to 12 minutes.
- Test for doneness: When the crust is browned and a tap on the bottom of the loaf sounds hollow, the loaf is done. Lift the bread out of the Dutch oven, leaving the paper behind to discard later. (Tipping the loaf on end with a long-handled turner and then lifting it out with gloved hands is one option for doing this.). If any fragments of parchment stick to the loaf, they will peel away easily after it cools.
- Cool the bread completely before slicing.


Leave a comment