This French loaf is another bread which begins with making a pre-ferment, in this case a French one known as a “poolish”. It is mixed together the day before making the bread. Its function is similar to the Italian pre-ferment, “biga”. (See a description of “biga” and more information about pre-fermentation in thefoodlessprocessed post: Country White Bread.).
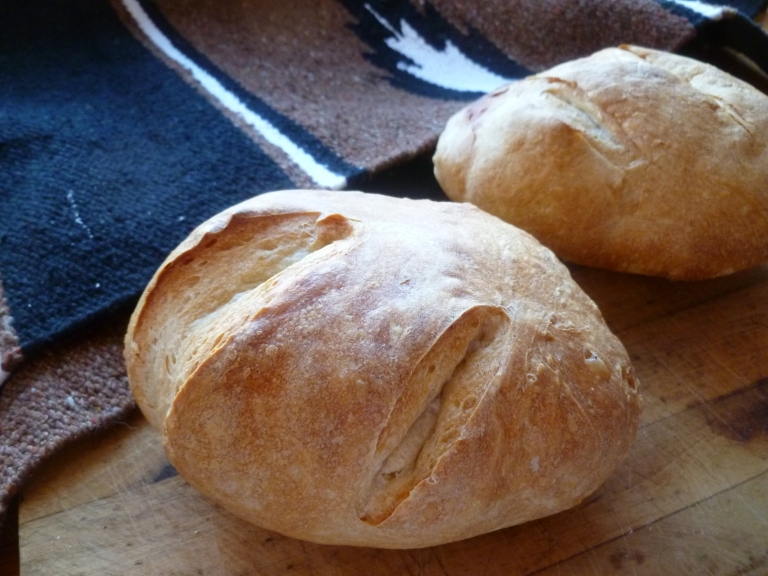
A bâtard has a crisp crust, but a light, chewy interior. It is good as a fresh, daily bread and is a good choice whenever one needs a sturdy bread that will not disintegrate on contact with liquid–for example, in an onion soup, for a cheese fondue, with a bowl of steamed mussels or to accompany escargots de Bourgogne. It also makes very good chapelure (a French version of fine breadcrumbs), for which there is a recipe here on thefoodlessprocessed.
The recipe below makes four small loaves.
To read about less processed ingredient options, please click on these links: Flour, Butter, Salt, Water.
Equipment
- a Digital Scale
- 2 Bowls: a small one for mixing the poolish and a large one in which to let the dough rise
- thefoodlessprocessed uses a Standing Mixer with a Large Bowl and a Paddle Attachment for mixing the dough.
- a Pastry Board
- Parchment Paper
- a Baking Sheet
- a Lame (a small razor blade mounted on a handle) or a very sharp Knife for slashing the bread before baking
Ingredients for the Poolish
- 5 fluid ounces of cool Bottled Spring Water or Well Water (about 148 ml)
- 1 cup, minus 2 Tablespoons of European All-Purpose White Flour (104 g)…or substitute Organic All-Purpose Unenriched Hard Wheat Flour (the American standard flour)
- 1/4 teaspoon of Instant Dry Yeast
Ingredients for the Loaves
- the Starter
- 12 fluid ounces of cool Bottled Spring Water or Well Water (355 ml). The full amount of water will probably not be used to mix the dough made with soft wheat flour. See the first recipe step below.
- 5 cups, plus 4 teaspoons, plus 1/2 teaspoon of European All-Purpose White Flour (612 g), plus a little more flour for the pastry board. Organic Unenriched All-Purpose Hard Wheat White Flour may be used instead–the standard American flour.
- 2 teaspoons of SAF Instant Yeast
- 2 and 1/2 teaspoons of Sea Salt
- a very little Salted Butter to grease the bowl in which the dough rises
- some Bottled Spring Water or Well Water for brushing over the loaves before baking
Mixing the Poolish
- In the small bowl combine the water, flour and yeast. Stir them together. Cover the bowl with plastic wrap and set it aside at room temperature overnight.
Mixing the Dough and Rising
The recipe describes the steps using a standing mixer and paddle attachment, but the dough may be mixed entirely by hand.
- In the bowl of the mixer, combine the starter, flour, yeast and salt. Begin mixing to form the dough, adding the water gradually to form a soft, but not liquid mixture. A soft wheat flour dough may not require the full amount of water. The dough made with hard wheat flour will include the entire amount probably.
- Mix, using the paddle attachment, until the mixture forms a dough which comes away from the sides of the bowl. When the dough is sufficiently kneaded, it will still be damp to the touch, still a little sticky, but it will tend to pull away from your fingers instead of tending to cling to them.
- Place the dough in a very lightly buttered bowl, cover it with plastic wrap and let it rise until it doubles in size.
- When the dough is risen, transfer it to a pastry board and divide it into 4 roughly equal parts. Cover the dough with a towel and let it rest for 20 minutes before forming it into ‘bâtards’ (small, oval-shaped loaves, slightly pointed at each end).
Forming the Bâtards
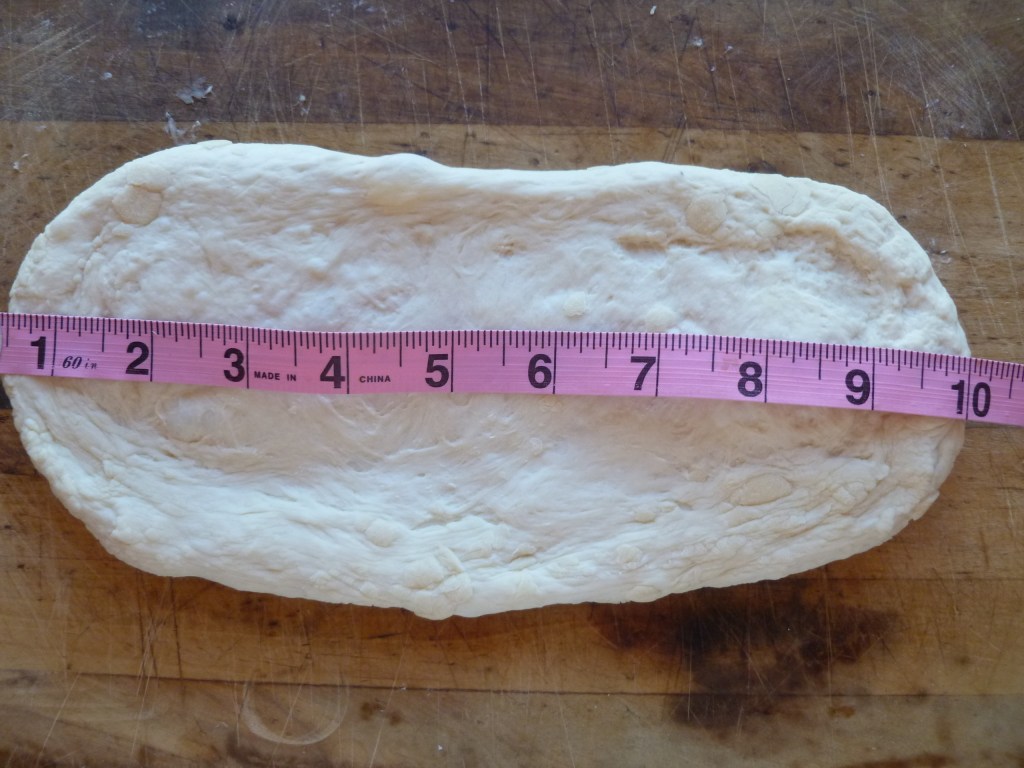
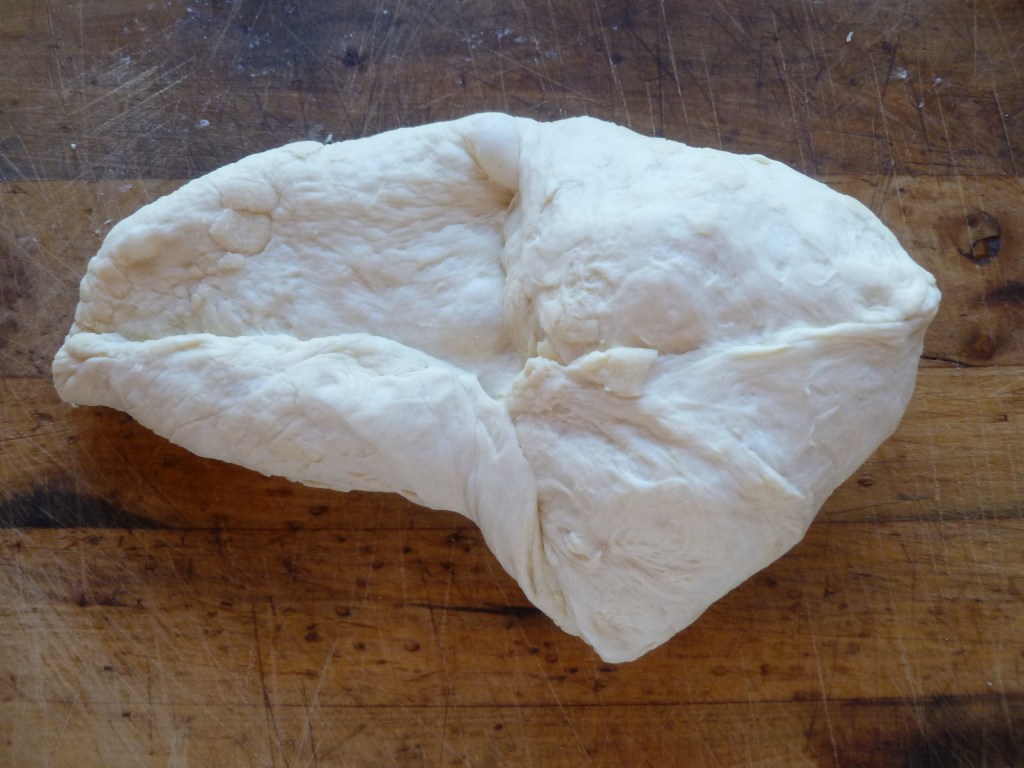
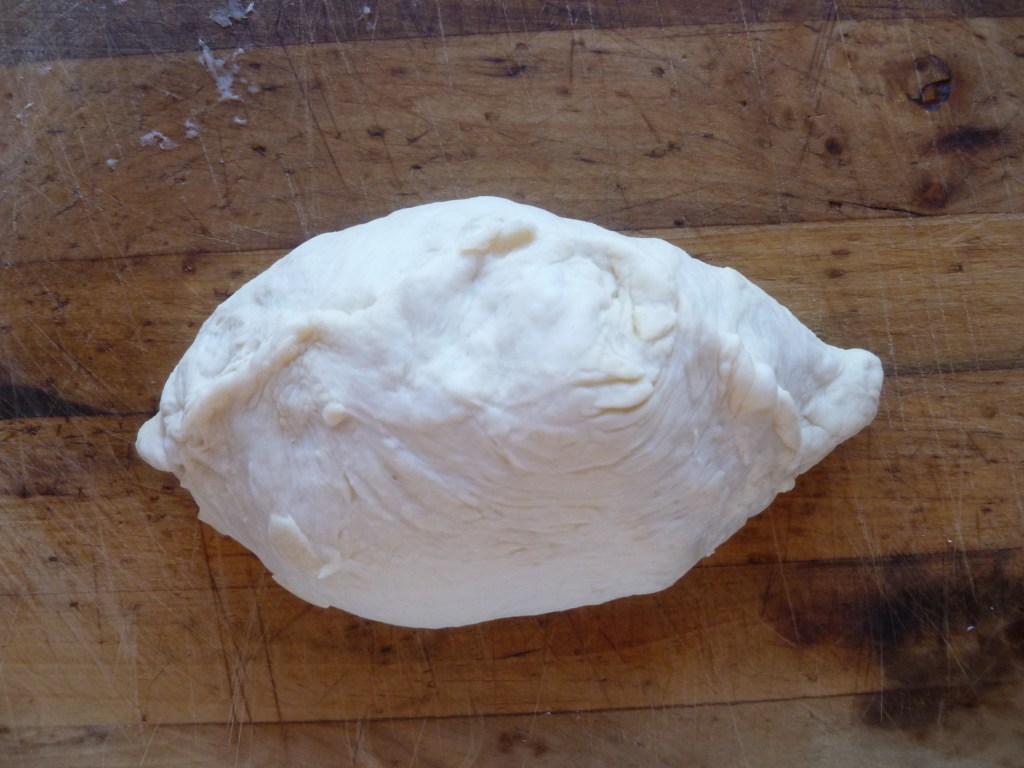
- To form a ‘bâtard’ press one fourth of the dough out into a rough, long-ish oval shape, about 10 inches (25.5 cm) across:
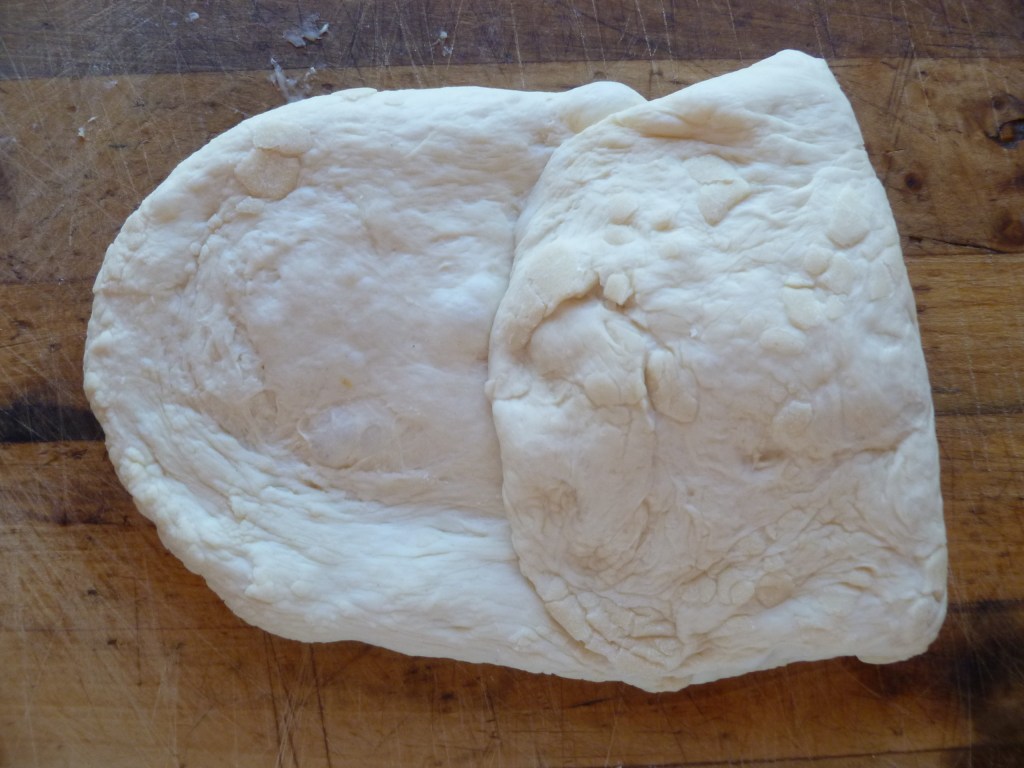
- Imagine the dough divided (left to right) into 3 parts. Fold the right third of the dough over the middle third, making a vertical crease down the center of the dough, and seal the crease line:
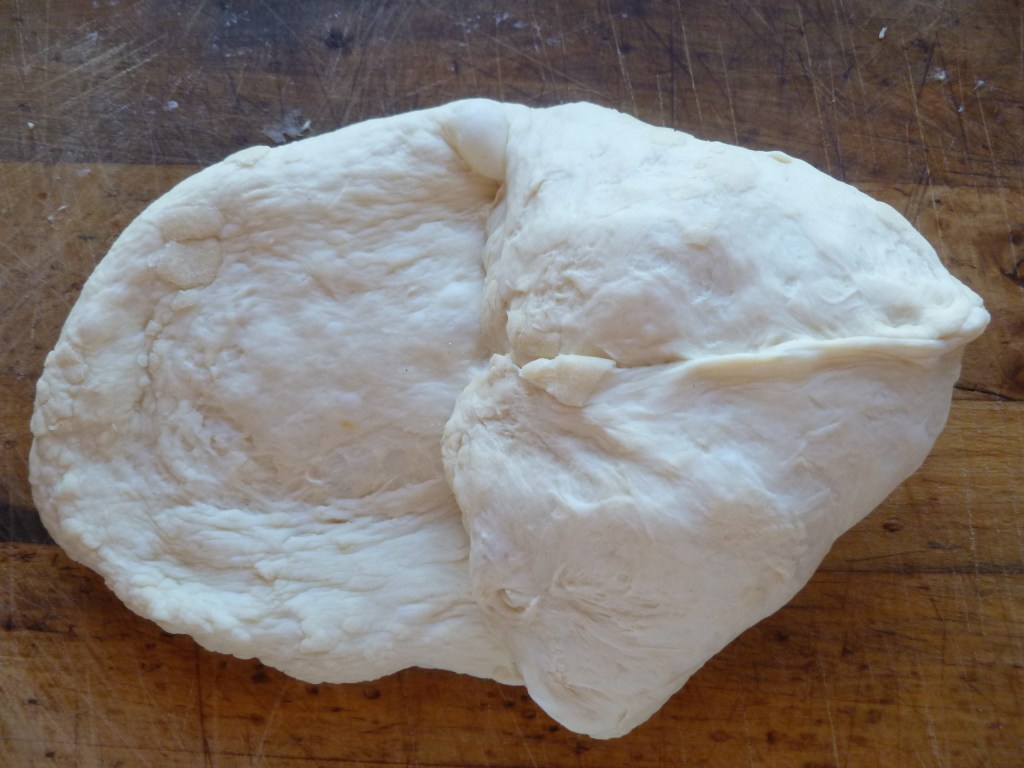
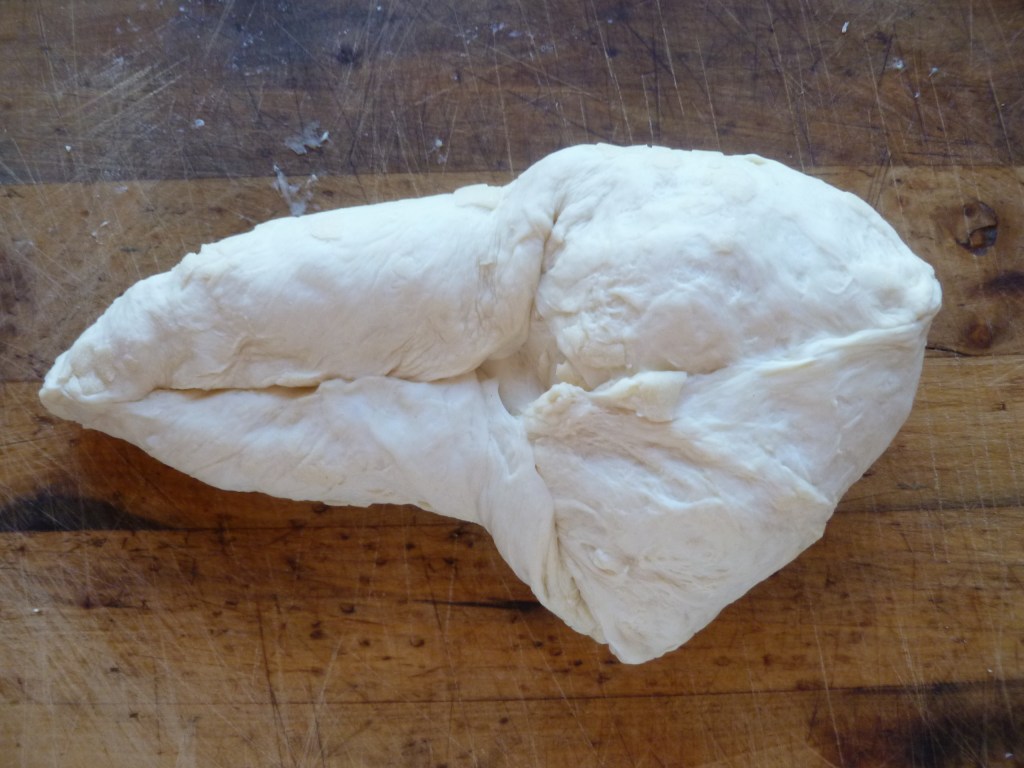
- Pick up the top right-hand corner of the dough and bring it down to form a (very rough) right triangle perpendicular to the vertical crease with its right angle at the center of the vertical crease. Then bring the bottom right hand corner up to meet it (as though you were folding a napkin or handkerchief) and seal all the edges:

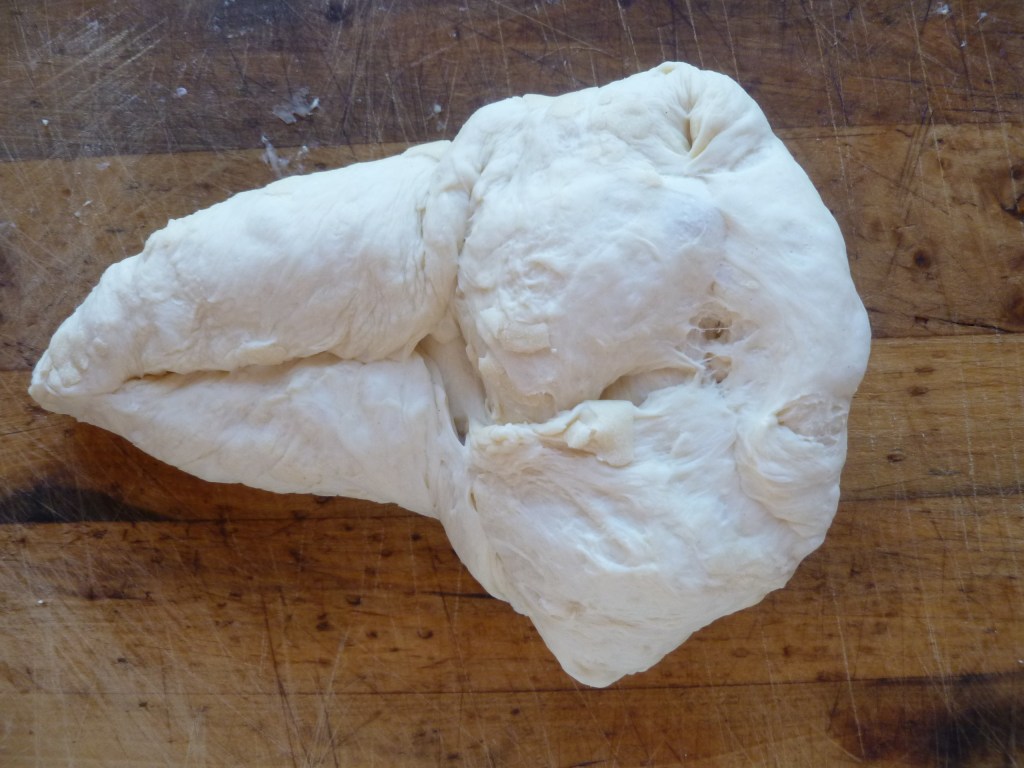
- Now fold the remaining third of the dough on your left. Beginning with the edge of the left-hand portion of dough closest to you, pick it up where it meets the bottom of the vertical crease you have made in the dough and bring it up to the midpoint of the vertical crease:
- Now lift the left-hand portion of dough where it meets the top of the vertical crease down the dough’s center and bring it down to meet its mate. Seal all the edges:
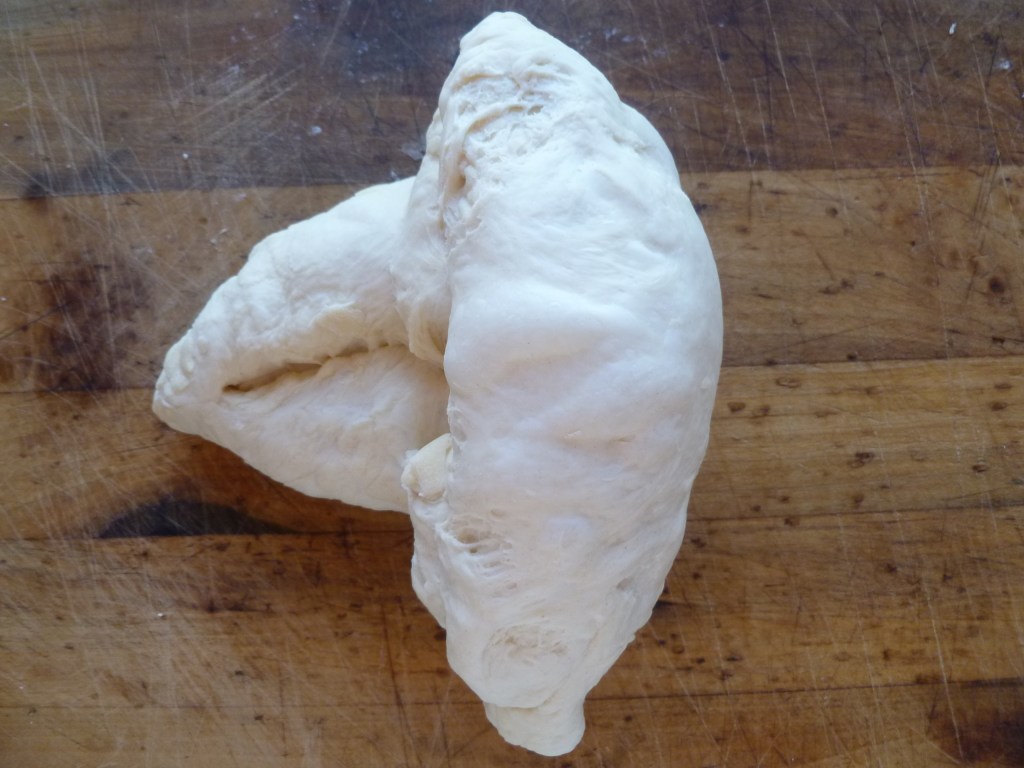
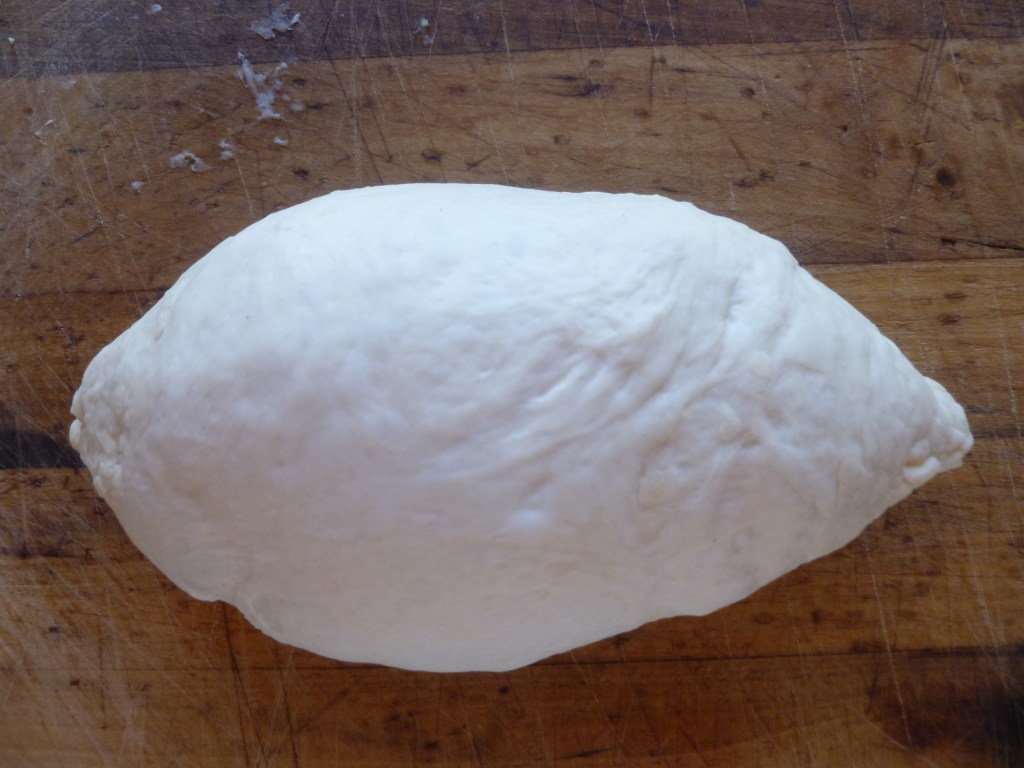
- You have formed the dough into a shape with a sharply pointed end to your left and a blunter pointed end on your right. Beginning with the blunter point’ to your right, roll the dough toward the more sharply pointed end on your left:
The pointed tips of the ‘bâtard’ form as you roll the dough, right to left:
- Give the loaf a quarter turn so that the pointed ends are to your right and left, and pinch the edges together to seal them:
- Turn the ‘bâtard’ right side up:
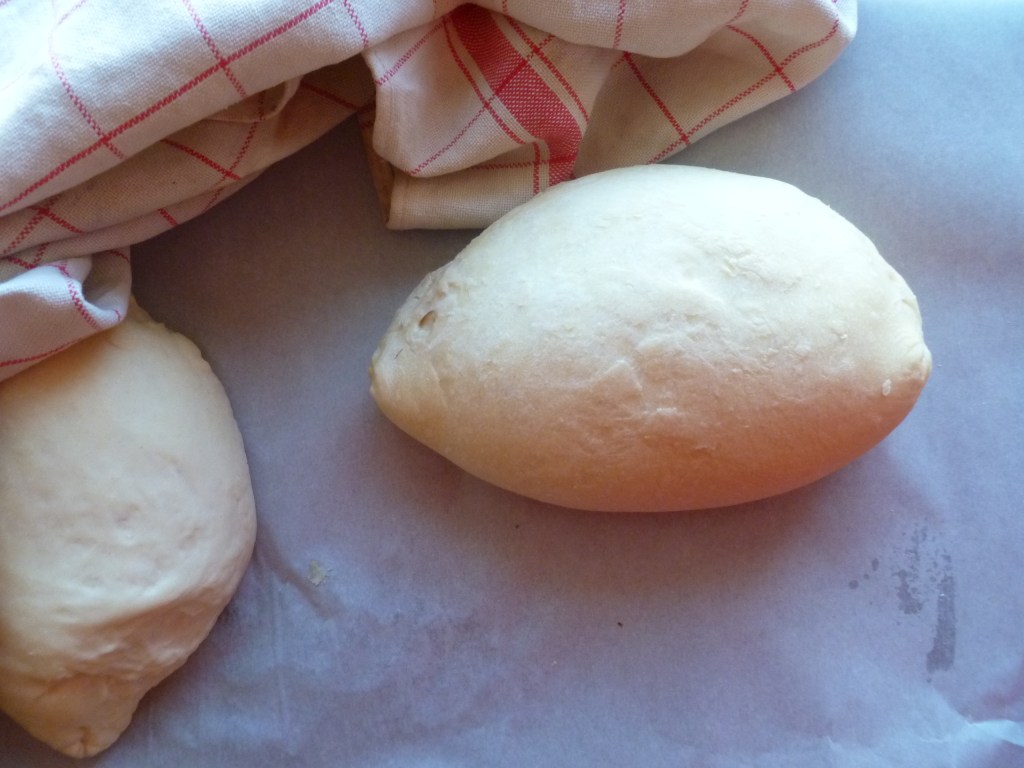
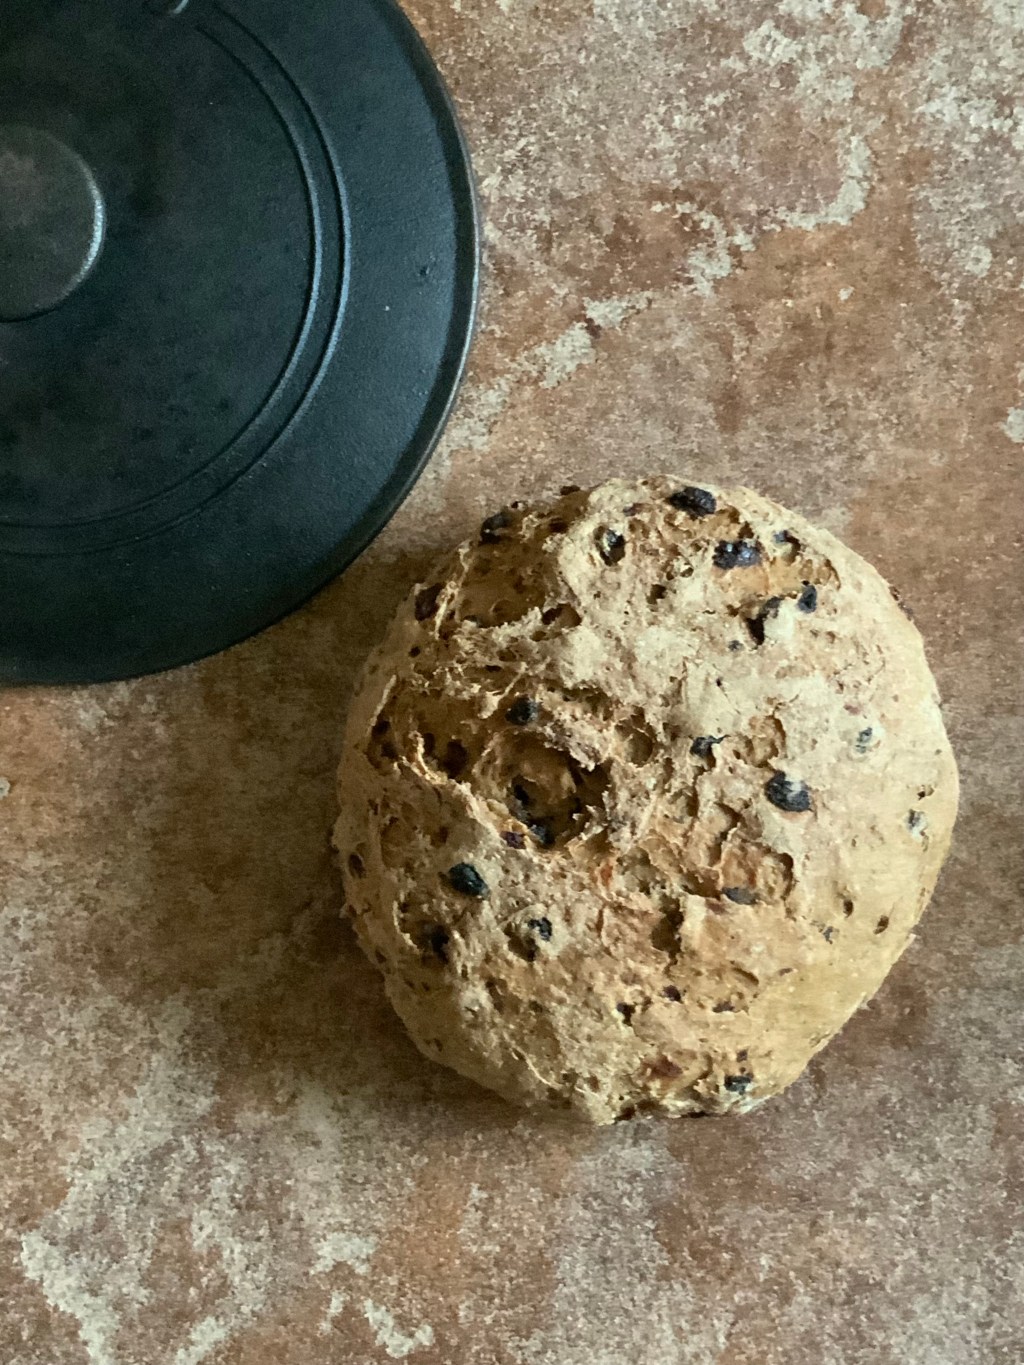
- Transfer it to the parchment-lined baking sheet and form three more loaves in the same way. Let the loaves rise, covered loosely with a cotton dishtowel, until the surface of each loaf has a tight, stretched look. Begin checking it after about 45 minutes. Risng times may vary considerably. The risen loaves will resemble fat little footballs:
Baking the Bâtards
Gas or Convection Oven: thefoodlessprocessed uses a gas oven. The conversions from Fahrenheit to Celsius do not attempt to adjust for differences between baking in a gas or convection oven. I have no experience using a convection oven, and leave adjustments to the better judgement of you who do have.
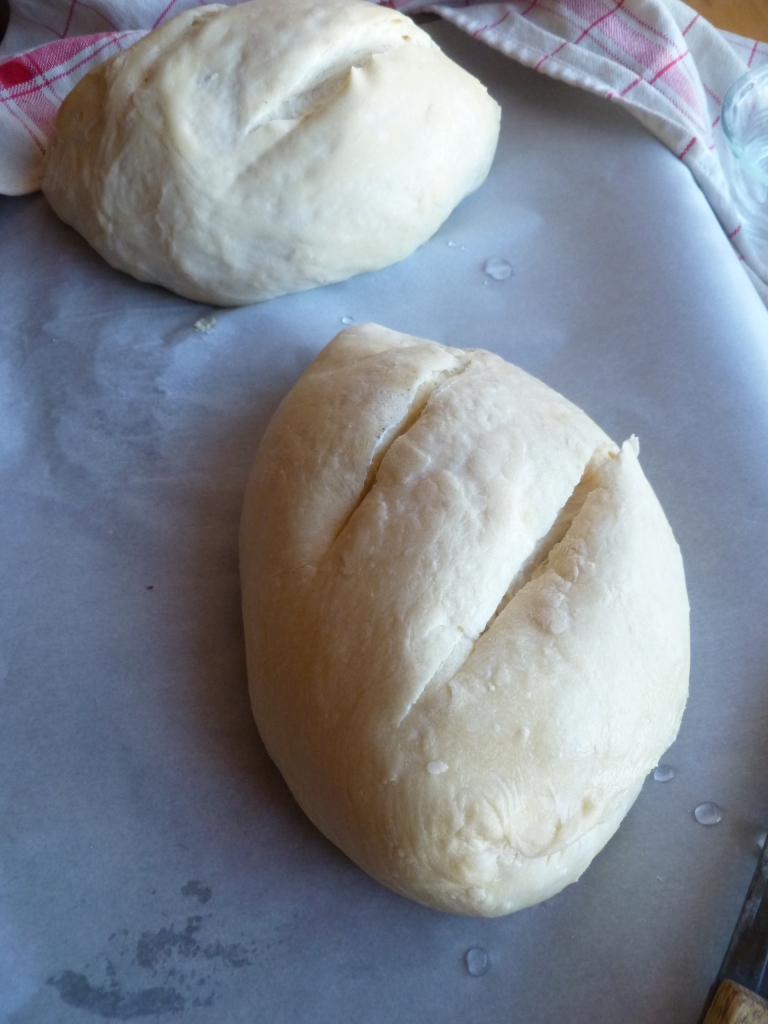
- Preheat the oven to 425 F (218 C). With a lame or a sharp knife, make a couple of diagonal slashes in each loaf and, with your fingers, smooth some water over the surface of each one:
- Bake the loaves for 30 to 35 minutes, or until they are golden. Cool them completely before slicing.


Leave a comment