The crisp skin and firm, tender meat of a roast duck are largely due to the quality of the bird. A free-range duck generally has more developed muscles than a conventional supermarket duck because it moves around a lot more. This gives them leaner, firmer meat and more evenly distributed fat. A duck that has been raised in a confined area where it cannot move freely will have softer, flabbier fat and looser skin that is harder to crisp.
The processing method used after butchering is also key. An air-chilled duck is cooled with cold air and therefore doesn’t absorb water during processing. The skin stays drier, the fat renders better during roasting, and the skin crisps. Conventional ducks are cooled in a tank of chlorinated water. They absorb a lot of this water, which remains in the skin and fat layer. The result is a rubbery skin and a layer of fat beneath it which isn’t rendered well.
These links will take you to descriptions of the less processed ingredient options: Duck, Fruit, Sage, Vegetables.
Roast Free-Range Duck
Equipment
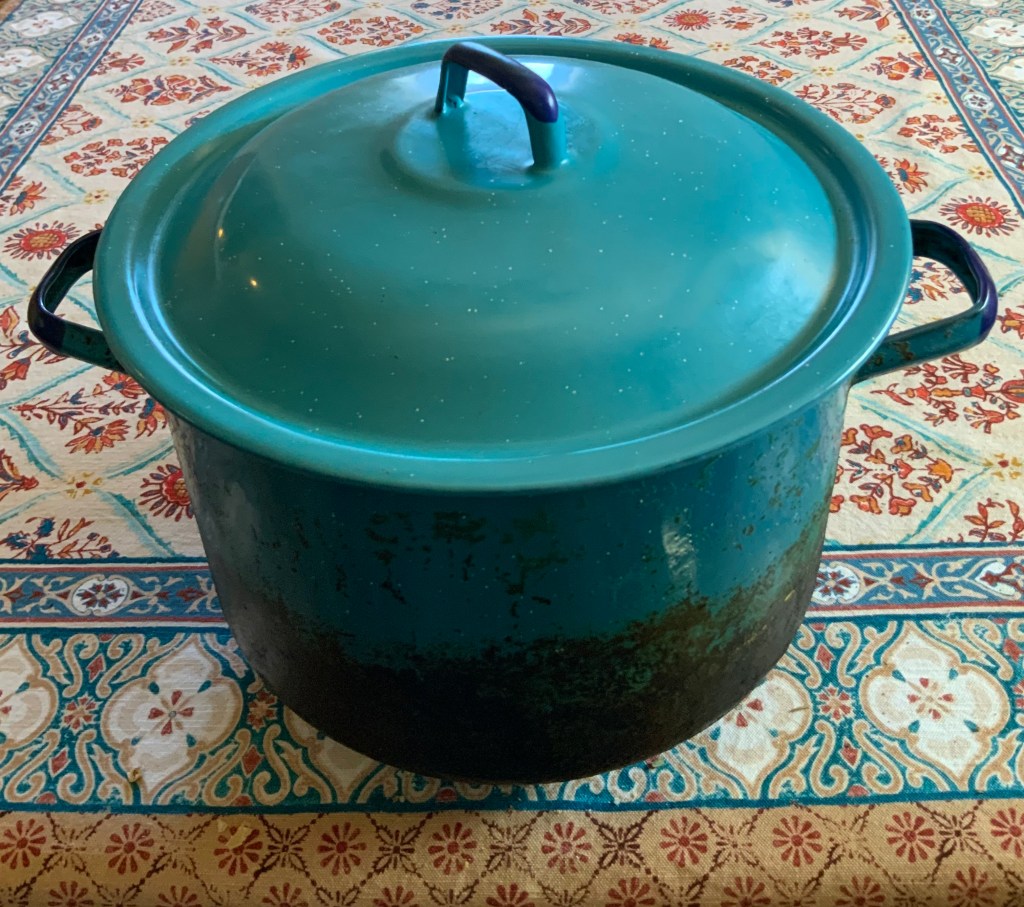
- a Roasting Pan
- a Roasting Rack: one that is adjustable, leaving space between the duck and the bottom of the pan is ideal.
- a Rimmed Pan, lined with foil, on which to roast the duck for the last half hour or so while making the gravy in the roasting pan
Ingredients
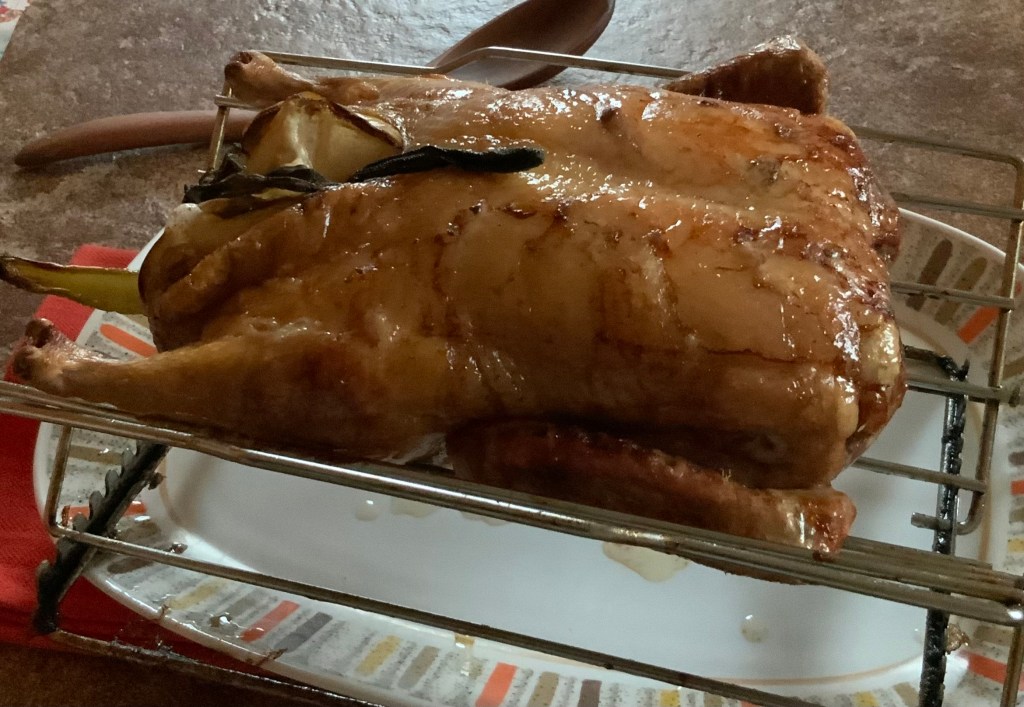
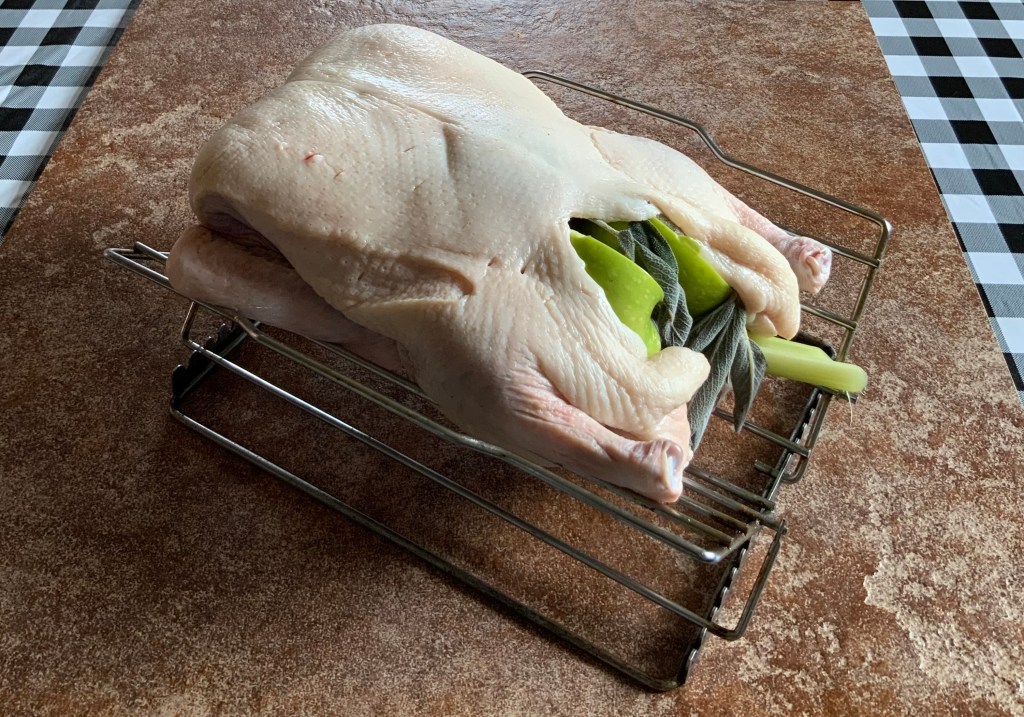
- an Organic, Free-Range, Air-Chilled Duck: The duck in the photo weighed about 5 pounds (about 2.25 kg)
- 1 Organic Apple, quartered
- 1 Organic Celery Stalk
- a Wedge of Yellow Onion, skinned
- 1 Stem of Organic Fresh Sage
Preparing the Duck for the Oven
- Remove the neck and packet containing the liver from inside the duck. Wipe the inside dry. Reserve the neck for making the gravy. The method for making the stock and gravy is below following the duck recipe.
- Prick the duck all over to help release the fat.
- Stuff the duck with the apple, celery stalk, onion and sage.
- Place the duck on the rack.
- Pour water in the bottom of the pan to cover. This will prevent the drippings from burning and smoking. As the duck roasts, check occasionally to ensure that the water has not totally evaporated.
Roasting the Duck
Gas or Convection Oven: thefoodlessprocessed uses a gas oven. The conversions from Fahrenheit to Celsius do not attempt to adjust for differences between baking in a gas or convection oven. I have no experience using a convection oven, and leave adjustments to the better judgement of you who do have.
Roasting Time: The roasting time used for this 5-pound duck was 25 minutes per pound or about 55 minutes per kg. This works out to 2 hours and 5 minutes. However, the juices still ran pink after this time and the actual roasting time was 2 and 1/2 hours. Tightly stuffing the duck likely increased the roasting time.
Testing for Doneness: You cannot test the doneness of a free-range duck by roasting it until the drumstick moves freely. A free-range bird is active, more muscular than a conventional supermarket one, and the joints don’t loosen as easily, even when it is fully cooked. Instead, tip the bird on end and allow some juices from the inside to flow down into the pan. If the bird is not done, there will still be streaks of pink in the juices and it requires some more roasting time.
As the duck roasts, check that there is still water in the bottom of the pan and add more if it has evaporated.
If the fat in the roasting pan begins to pop and smoke, transfer the duck, on the rack, to the rimmed pan lined with foil. Pour all the drippings into a heat- proof bowl. Add 2 cups of water to thepan, return the duck to it, and continue its roasting.
- Preheat the oven to 450 F (232 C).
- Place the duck in the oven on the middle rack and reduce the heat to 375 F (190 C).
- Roast the duck for 30 minutes.
- Turn the duck over and roast for another 30 minutes.
- Turn the duck back right side up and roast for another 30 minutes.
- Transfer the duck on the rack to the foil-lined tray and return it to the oven to finish roasting (about 35 minutes more, but perhaps longer). After 35 minutes, check for doneness by tipping the bird to allow juices to run out. When they run clear and there are not traces of pink, the duck is done.
- Make the gravy in the roasting pan while the duck finishes cooking.
- Remove and discard the apple, celery, onion, and sage before carving.
American-Style Gravy
To read about the less processed options for the gravy ingredients, follow these links: Butter, Flour, Vegetable Stock.
Equipment
- a Medium-Sized Pot with a Heavy Bottom and a Lid
- a 4-Cup/1 Liter Liquid Measuring Cup and another, Smaller Liquid Measuring Cup
- the Roasting Pan of drippings
- a Metal Spatula/Turner or Wooden Spoon
- a Flame Tamer (aka Heat Diffuser, Simmering Plate) is optional. The pot does not sit directly over the heat source. The gravy may be kept warm over a low heat and is less likely to scorch. Some brands may be used on smooth-top burners.
Ingredients
- the Neck from the Free-Range Duck
- 1 Tablespoon of Salted Butter
- 1/2 Cup (65 to 70 g) of Organic Unenriched American Hard Wheat Flour
- about 5 cups (1.18 liters) of Homemade Vegetable Stock. (See thefoodlessprocessed recipe: Vegetable Stock.)
- 1/3 cup (79ml) of Drippings from the roasting pan
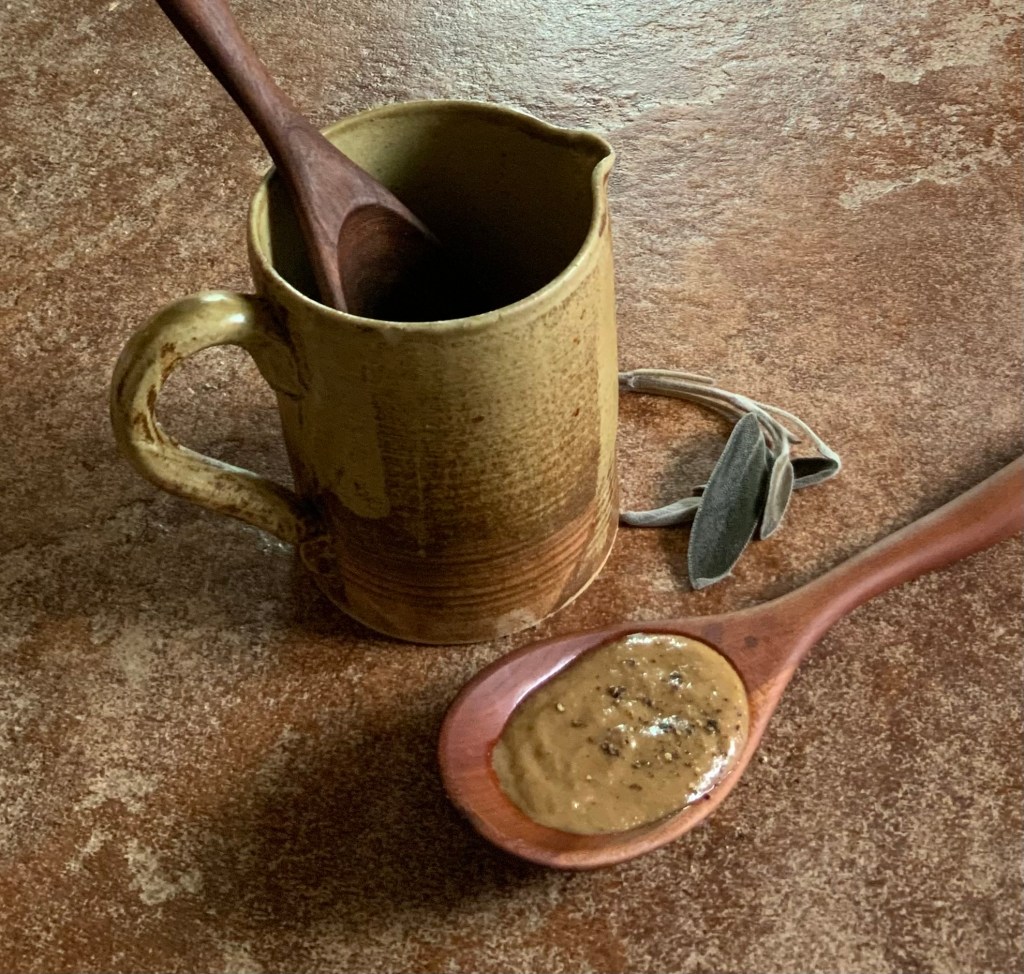
- Ground Black Pepper
Making the Gravy
- Melt the butter in the pot and add the duck neck. Brown the neck in the butter and add 5 cups (1.18 liters) of homemade vegetable stock. Simmer for about 40 minutes or until the stock is reduced to 4 cups. Discard the neck and transfer the stock to a large measuring cup. Add vegetable stock to increase the amount of liquid to 4 cups if necessary.
- Pour 1/3 cup (120 ml) of drippings from the roasting pan into the smaller measuring cup. Discard any remaining drippings.
- Pour the drippings back into the roasting pan and place the pan over a burner set to medium heat.
- Add the flour. Stir constantly, mixing the flour with the fat. When the flour turns a reddish brown, slowly begin adding the stock, stirring and scraping up crisp bits from the bottom of the pan. Allow the gravy to thicken a bit between additions of stock.
- When all the stock has been added, continue cooking the gravy, stirring, until it is thick and smooth.
- Transfer it to the medium-sized pot. Add some ground black pepper to taste. Place the pot on the flame tamer. Partially cover it and keep the gravy warm over very low heat, stirring occasionally, while you carve the bird.


Leave a comment