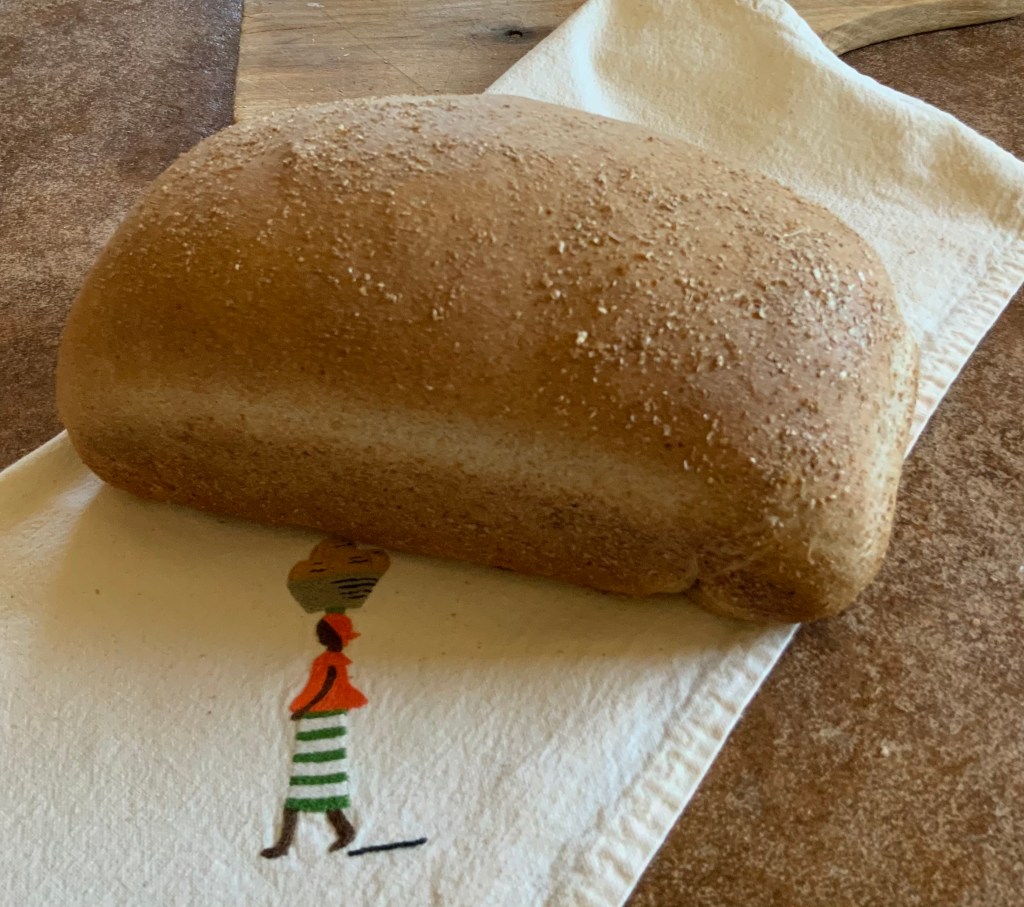
“Bread making is a deeply rewarding and satisfying occupation…But beware of baking that first loaf. Unless you are quite exceptionally lucky in your baker, and/or have a very easy-going family, you will find it difficult to go back to shop bread again….The most encouraging way to start is by making a wholemeal [aka whole wheat] loaf–the famous Grant loaf which is as easy to make as a mud pie.” (Margaret Costa from Four Seasons Cookery Book (1970).
The Grant Loaf takes its name from the British food writer Doris Grant, who was a proponent of home cooking with less processed ingredients. She hoped this simple, streamlined way of making a loaf of bread would encourage people to eschew the commercial loaf and bake their own bread.
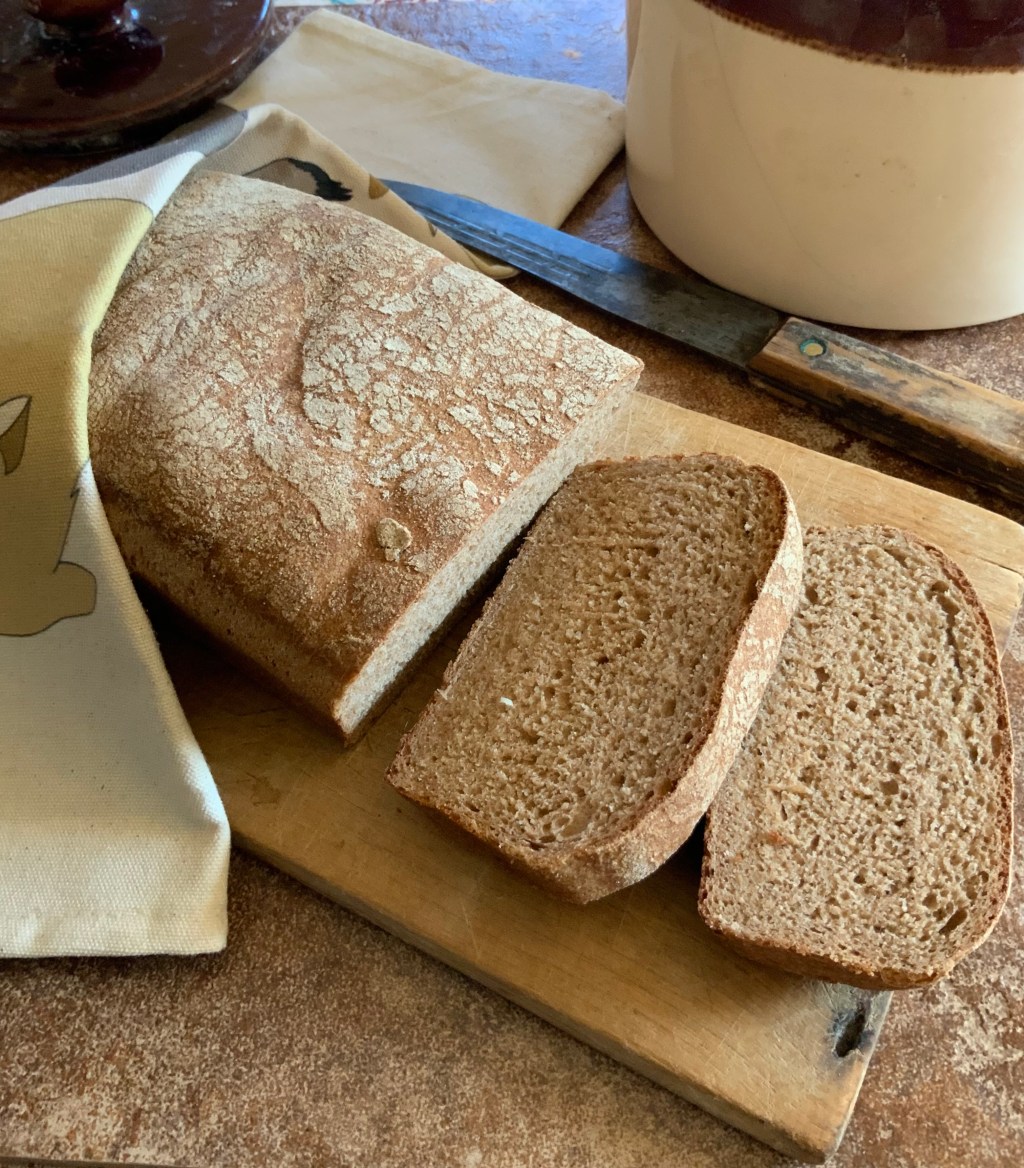
And indeed, the Grant Loaf is a very good inducement to try one’s hand at bread making. It is flavourful, has a moist, chewy texture and is suitable for jam and butter, charcuterie or cheese.
The less processed ingredient options are: Whole Wheat Flour, Honey, Water, and Salt.
Equipment
- a 2-Pound Loaf Tin (1.2 – 1.4 liter capacity). Dimensions: (9 x 5 x 3 inch) or (23 x 13 x 7 cm)
- a Standng Mixer with a Paddle Attachment
- a Pastry Board
- a Digital Scale
Ingredients
- 450 gm of Organic Stoneground Whole Wheat (aka Wholemeal) Flour and a little flour for the pastry board and ball of dough
- 1 teaspoon of Organic Unfiltered Honey
- 2 teaspoons of Sea Salt
- 400 ml of Bottled Spring Water
- 7 g of SAF Instant Yeast
- Organic Unsalted European-Style Butter to butter the loaf tin
Making the Dough
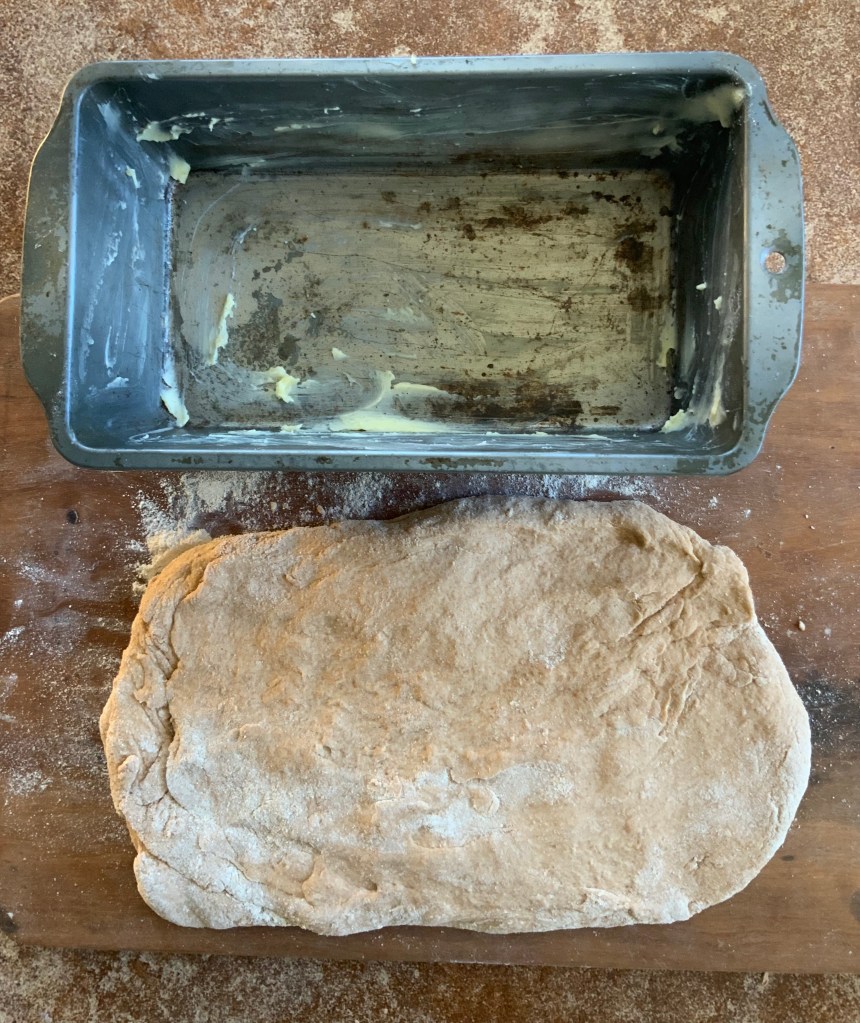
- Butter the loaf tin well and set it aside.
- Place all the ingredients in the bowl of the mixer, beginning with the dry and adding the liquid last.
- Using the paddle attachment, mix until the dough clumps about the paddle in a slippery ball and has come cleanly away from the bowl. On a damp rainy day the dough may not come away from the bowl completely. But it will develop a damp, elastic consistency that is no longer sticky. At that point it may be turned out and formed into a loaf.
- Sprinkle the pastry board with a little flour. Before turning out the dough, dust its surface with a little flour as well.
Forming the Loaf
Form the loaf with a simple technique known as the “letter fold”:
- Pat the dough into a rectangle roughly the size of the loaf tin.
- Take up the top third of the dough and fold it down toward the center.
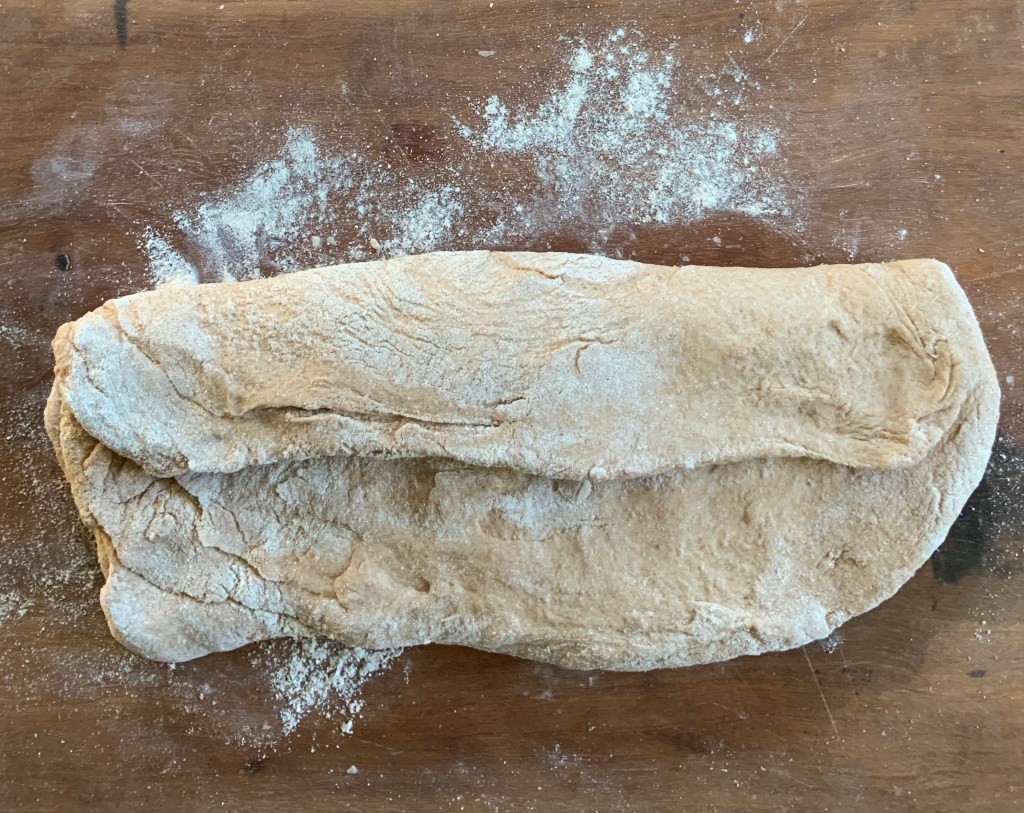
- Take the bottom third and fold it up over the top third (as though folding a letter to go in an envelope).

- Turn the dough over seam-side down.
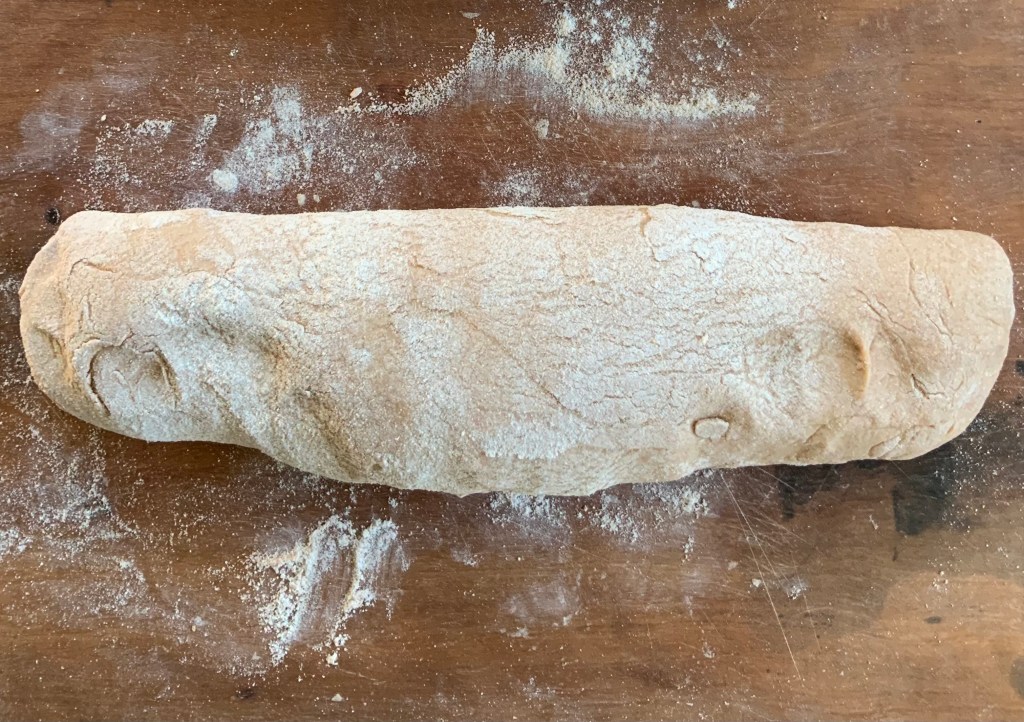
- Shape the loaf by gently tucking the ends under.
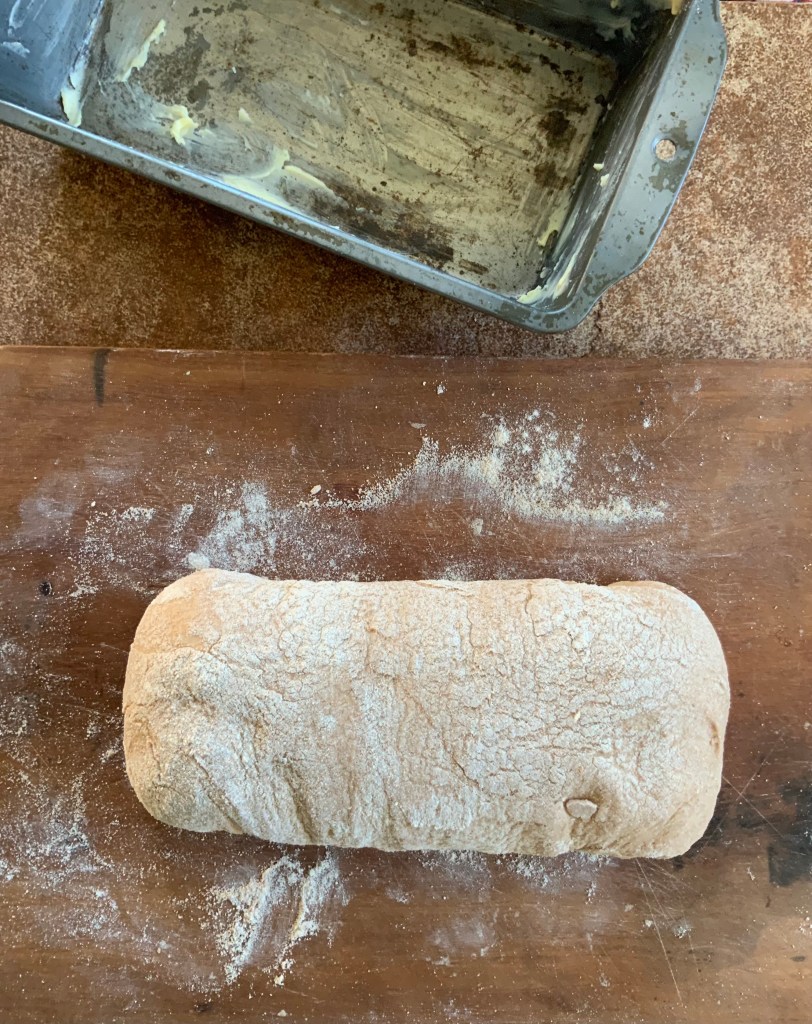
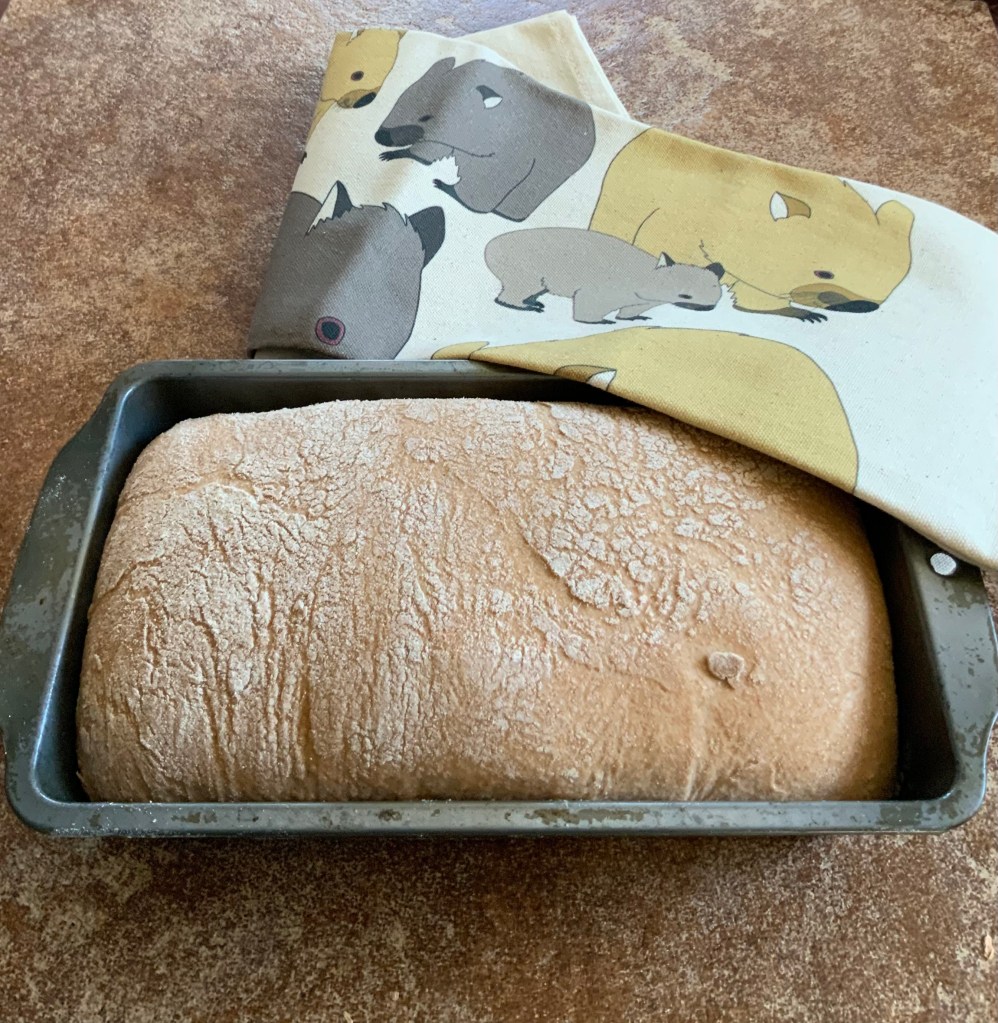
- Lift the loaf, placing it seam-side down in the buttered tin.
- Cover the tin with a large bowl or a cloth and leave it to rise in a warm place for about an hour–or until it forms a dome and rises just above the rim of the tin.
Baking
Gas or Convection Oven: thefoodlessprocessed uses a gas oven. The conversions from Fahrenheit to Celsius do not attempt to adjust for differences between baking in a gas or convection oven. I have no experience using a convection oven, and leave adjustments to the better judgement of you who do have.
- Preheat the oven to 400 F/200 C.
- Bake the loaf for 30 minutes on the middle rack.
- Remove it from the tin and bake it directly on the middle rack for another 10 minutes.
- Cool the loaf completely before slicing it
Wrapped in foil and stored in a light polyethylene bag, the Grant Loaf will remain fresh for at least 2 days.


Leave a comment