Yoghurt’s roots in Western European and American food traditions are relatively shallow. Early in the twentieth century it was sold, unflavoured, in pharmacies as a digestive aid. Several decades later when commercial producers wanted to shift the market for yoghurt out of the pharmacy and on to the table, they added fruit flavour and sweetening and yoghurt acquired the market persona of a sweet snack with healthy overtones.
Since then, however, yoghurt has developed a following of people who like it for its own simple self. It is more often than before served without first masking it’s unique flavour with sweeteners, and has slowly found a place in Western European and American cooking and baking.
This method of making yoghurt is straightforward and quickly done. The time is in the fermentation and thickening, both of which the yoghurt takes care of itself. The technique comes from India, where experience with yoghurt runs centuries deep.
The less processed ingredient options are: Milk and Starter Culture.
Special Equipment
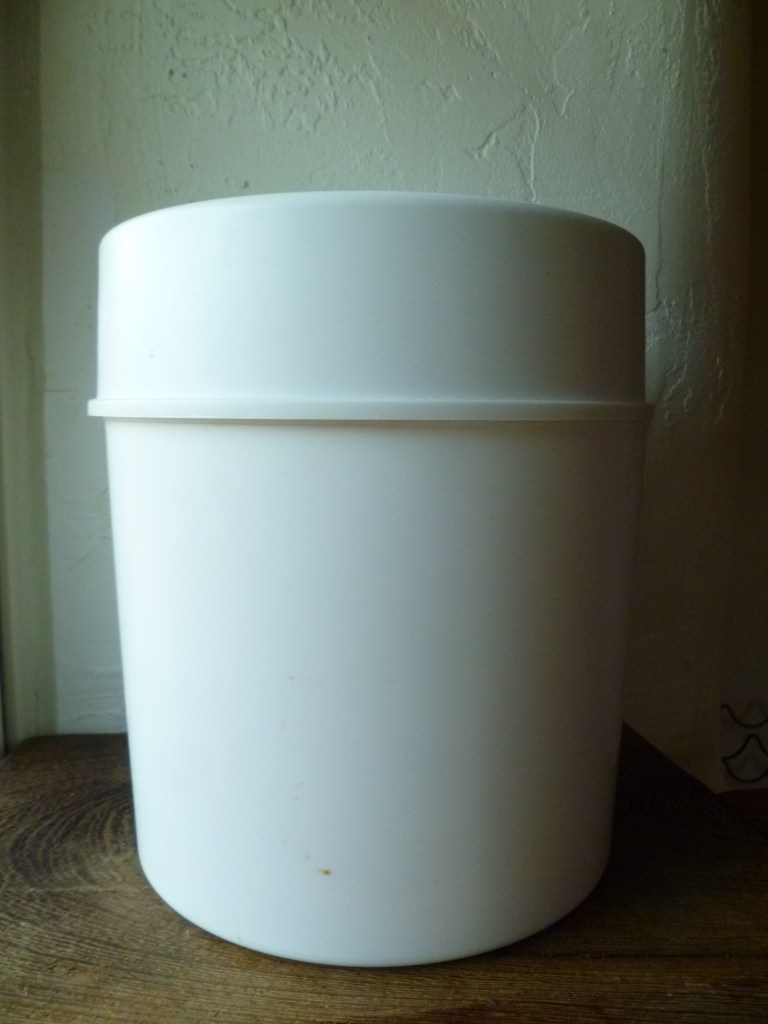
- A simple, non-electric yoghurt maker—essentially an insulated container that retains warmth while fermentation proceeds. (Non-electric makers are available online. They tend to be less expensive than the electric ones.)
Other Equipment
- A Heavy-Bottomed Pot big enough to hold 1 litre (a little over 4 cups) of milk.
- a Whisk
- a Metal Bowl for cooling the milk before adding the starter: The milk will cool more quickly to the desired temperature.
- Flame Tamer (aka Heat Diffuser, Simmering Plate). The pot does not sit directly over the heat source. Some versions of flame tamers are compatible with a smooth-top burner.
Ingredients
- 1 litre (a little more than 4 cups) of Minimally Processed Whole Milk
- 1 packet of a Commercial Starter Culture for the first batch: See the description of how to choose a starter for quality and taste through this link: Starter.
Making Yoghurt
- Pour the milk into the pot. Place the pot on the flame tamer and bring the milk to a boil.
- Reduce the heat and simmer the milk for 10 minutes, whisking it occasionally to break up the surface and prevent a skin from forming. If a skin does form, whisk it back into the simmering milk.
- Transfer the milk to the metal bowl and froth it up with the whisk. Frothing is not required, but it can tilt the outcome toward a thicker set.
- Check the temperature of the milk with your finger as it cools. It is like checking the temperature of a liquid before adding it to yeast. The temperature should reach a point where it is slightly higher than warm–‘just the bare sensation of hot’ is another way to describe the optimum temperature for adding the starter culture. A thermometer will read somewhere between 110 to 115 F (43 to 46 C).
- Whisk in the starter and pour the milk into the removable container of the yoghurt maker and seal it with the lid.
- Place the container down in the insulated outer container. Put the lid on and leave the yoghurt to ferment overnight, or for roughly 10 to 12 hours.
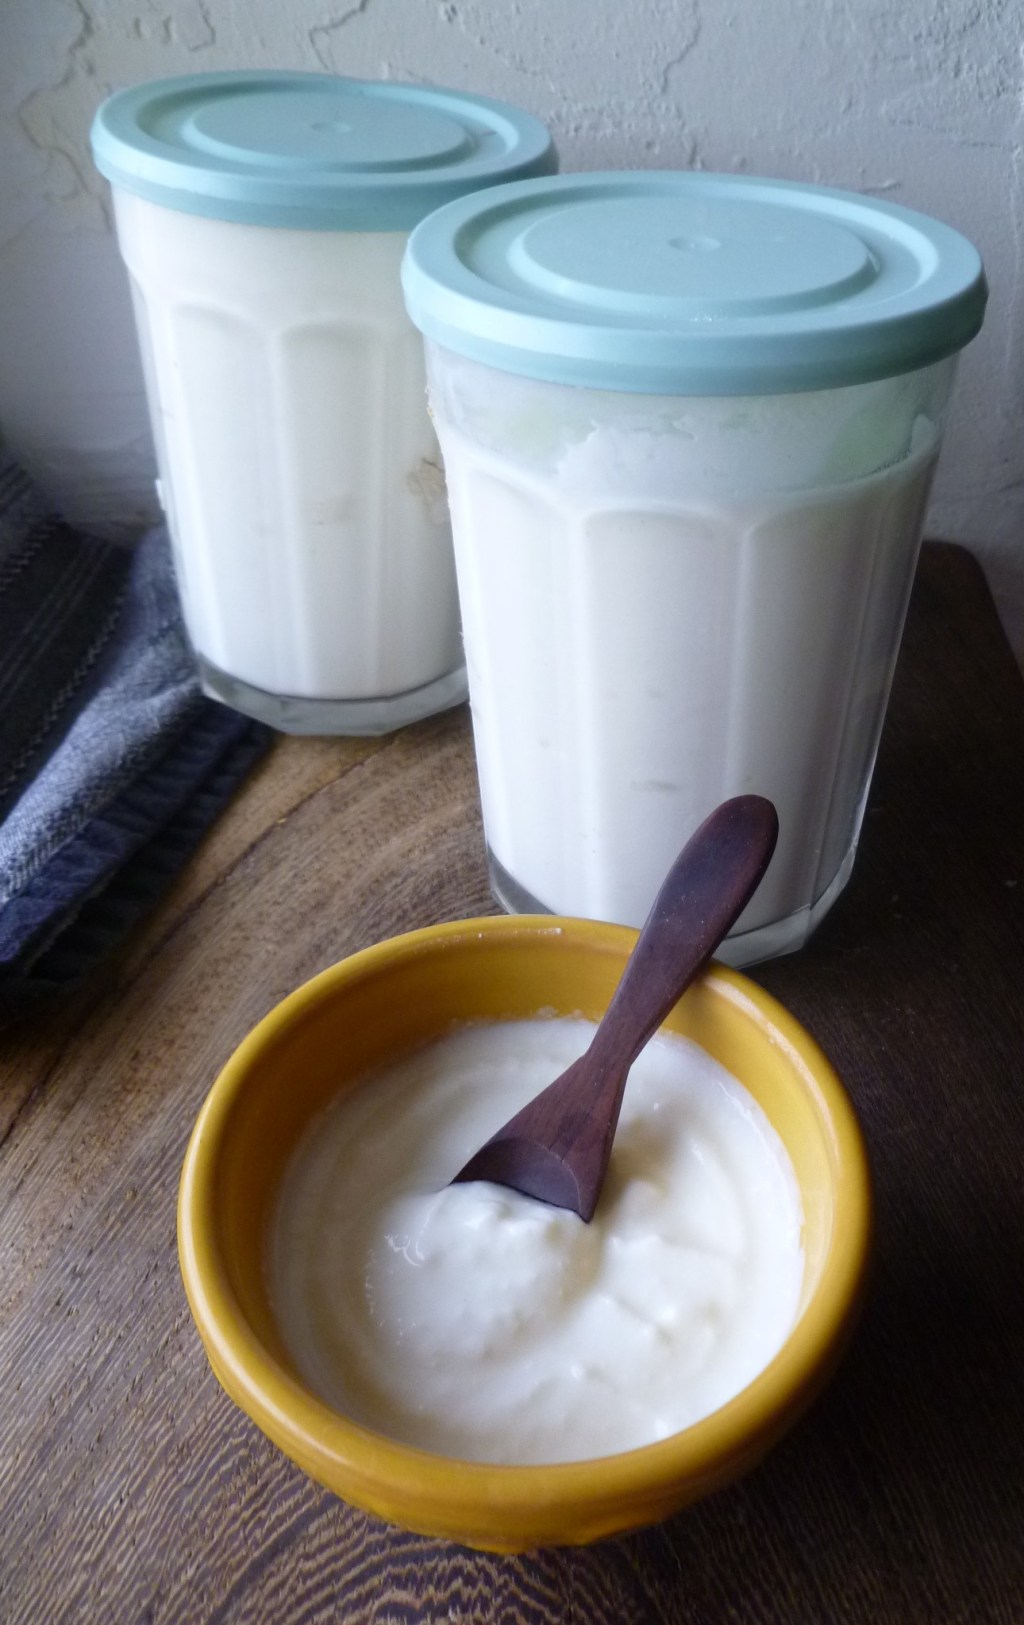
- At the end of this time, the yoghurt will be set. A small amount of whey will have risen to the surface of the set yogurt. Whisk it back in and pour the yoghurt into glass containers. The yogurt will not have fully thickened yet.
- Seal the containers and refrigerate the yoghurt for another 10 to 12 hours to reach its final consistency.
Note: After making an initial batch, you can use your own homemade yoghurt as a starter many times, until the strain weakens. To do this, add a generous tablespoon of your own yoghurt as a starter.
Commercial starters are not designed for indefinite use. Signs that it is time for a fresh starter are: a slower setting time, a weaker texture (that is, a thinner consistency), and a loss of flavour.


Leave a comment