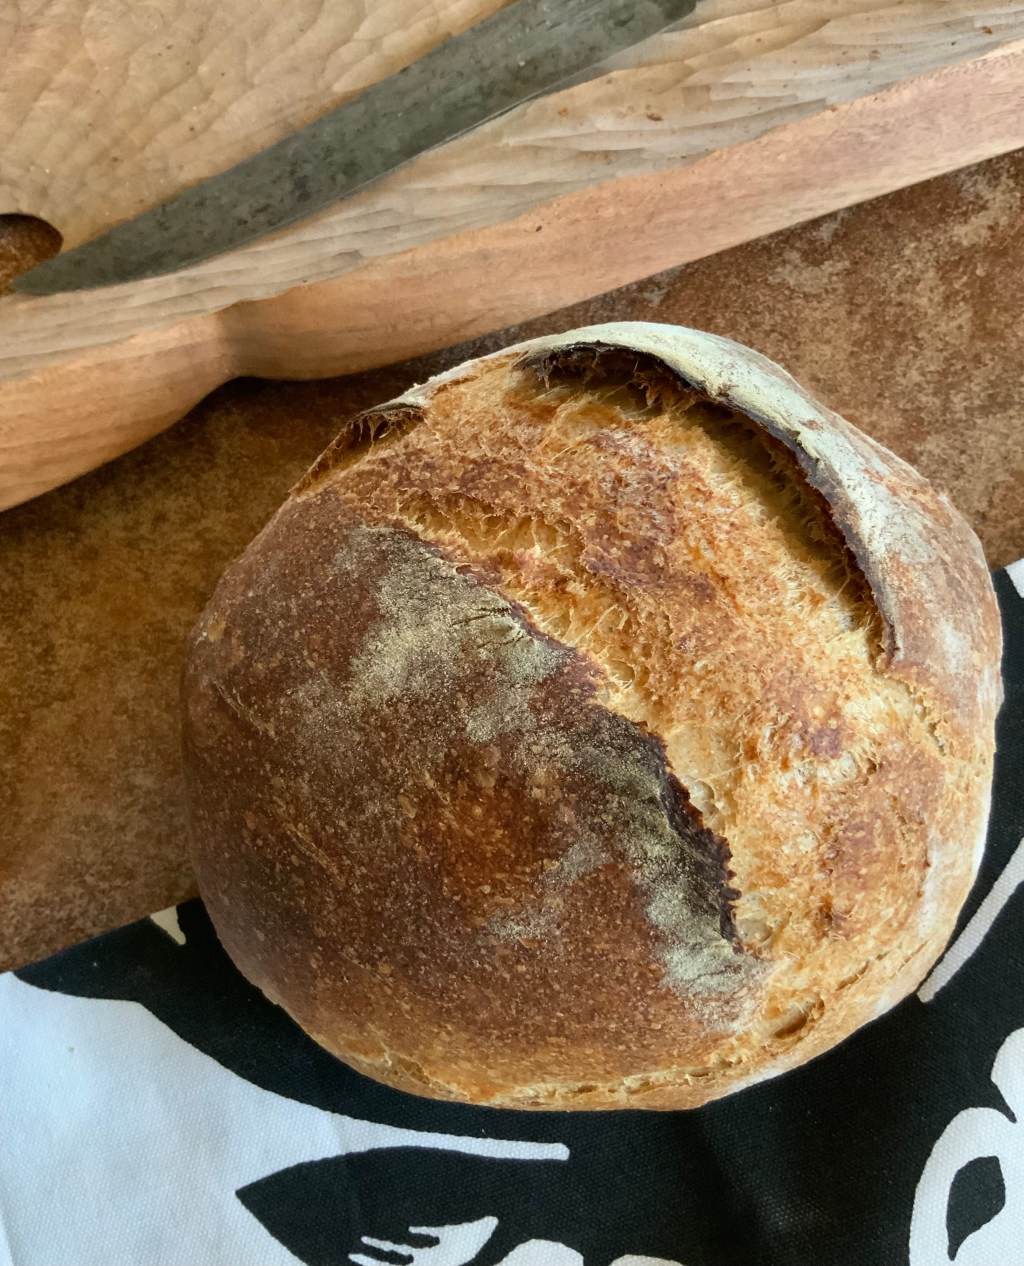
Michiel Leijnse’s video on making sourdough provides all the essential knowledge one needs to make it successfully.
This post follows his method. Timing of baking is flexible and can be arranged to suit one’s preference–either baking in the morning or evening.
The less processed ingredient options are: White Flour, Whole Wheat Flour (aka Wholemeal Flour), Salt, Water, and Starter. (Making a starter is described here: Sourdough Starter.)
Equipment
- a Digital Scale
- a Large Mixing Bowl and Plastic or a Lid to cover it: Always using the same bowl is helpful for judging when the dough has reached its peak rise and is ready to bake or refrigerate to bake later.
- a Spatula
- a Pastry Board
- a Banneton is optional to transfer the dough to the Dutch Oven or Cloche
- either a Dutch Oven lined with a Parchment Nest, described below, or a Cloche, described in Michael Leijnse’s video.
Ingredients
- 75 g of Starter, taken from the refrigerator and fed the night before, described below
- 400 g of Organic Unenriched Hard Wheat White Flour (aka Strong Bread Flour): Hard wheat flour is the standard American variety. Only the Organic version comes with a legal assurance that there are no additives in it.)
- 100 g of Stoneground Organic Whole Wheat Flour (aka Wholemeal Flour)
- 375 ml of Bottled Spring Water
- 10 g of Sea Salt
Preparing the Starter
Note: Some experienced bakers do not include this step, and instead, mix the refrigerated starter directly into the dough, and feed the remaining starter with flexible amounts of flours and water before returning it to the refrigerator.
The night before baking, remove the starter from the refrigerator and feed it by placing 100 g of starter in a clean jar along with 100 g total of a mixture of rye, white and whole wheat flours. The exact proportions of flours are flexible. Add 100 ml of warm water. Mark the level of the starter with a piece of tape or a rubber band slipped down over the jar. Cover the top of the jar loosely with a piece of plastic and the jar lid and leave it at room temperature overnight. The next morning it will again have doubled in size and appear bubbly. It is ready to use as the leaven in a loaf of sourdough. Use 75 g of starter for the sourdough and return the remainder to the refrigerator.
Step One: Mix
- Add the water and starter to the mixing bowl and stir them together.
- Add the flours and salt.
- Mix all the ingredients together into a clump.
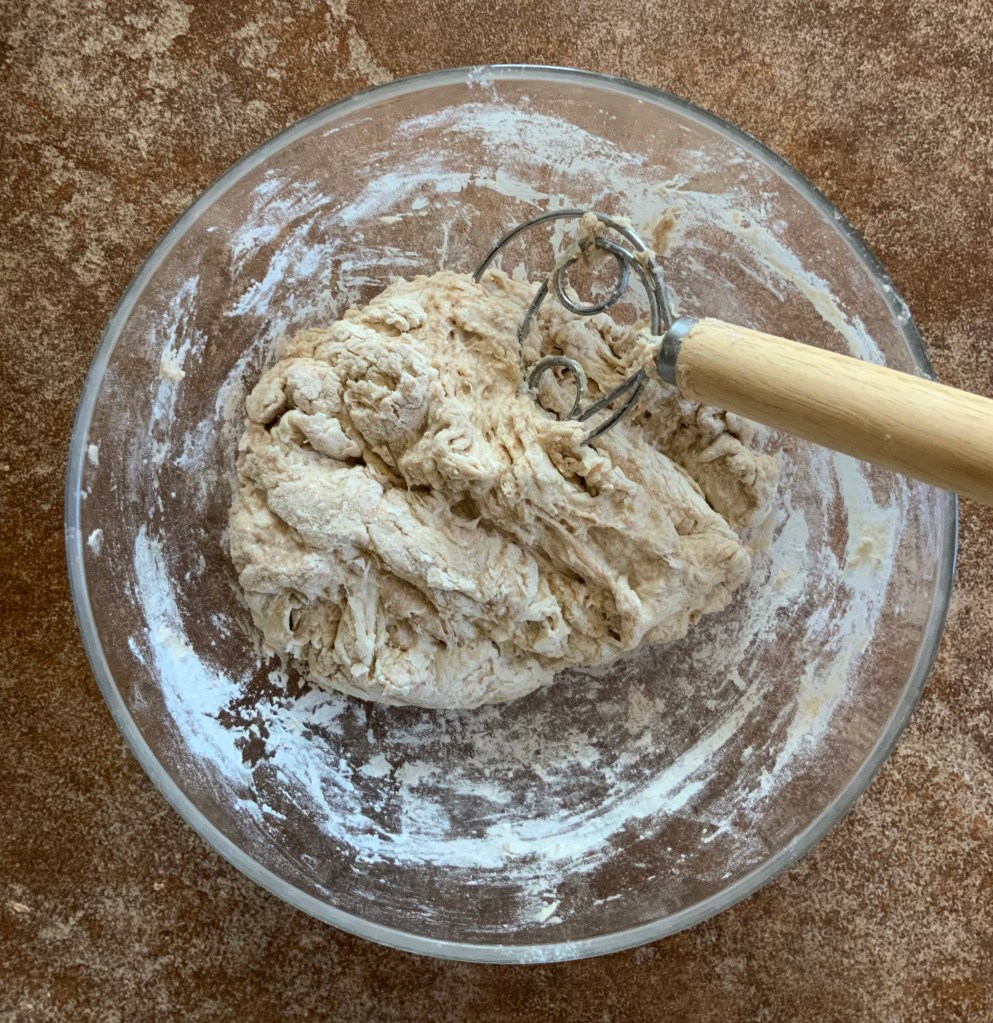
- Cover the bowl and leave the dough to rest for 60 minutes. The rest will allow the flour to absorb the water more fully.
Step Two: Wait–Stretch and Fold and Ferment
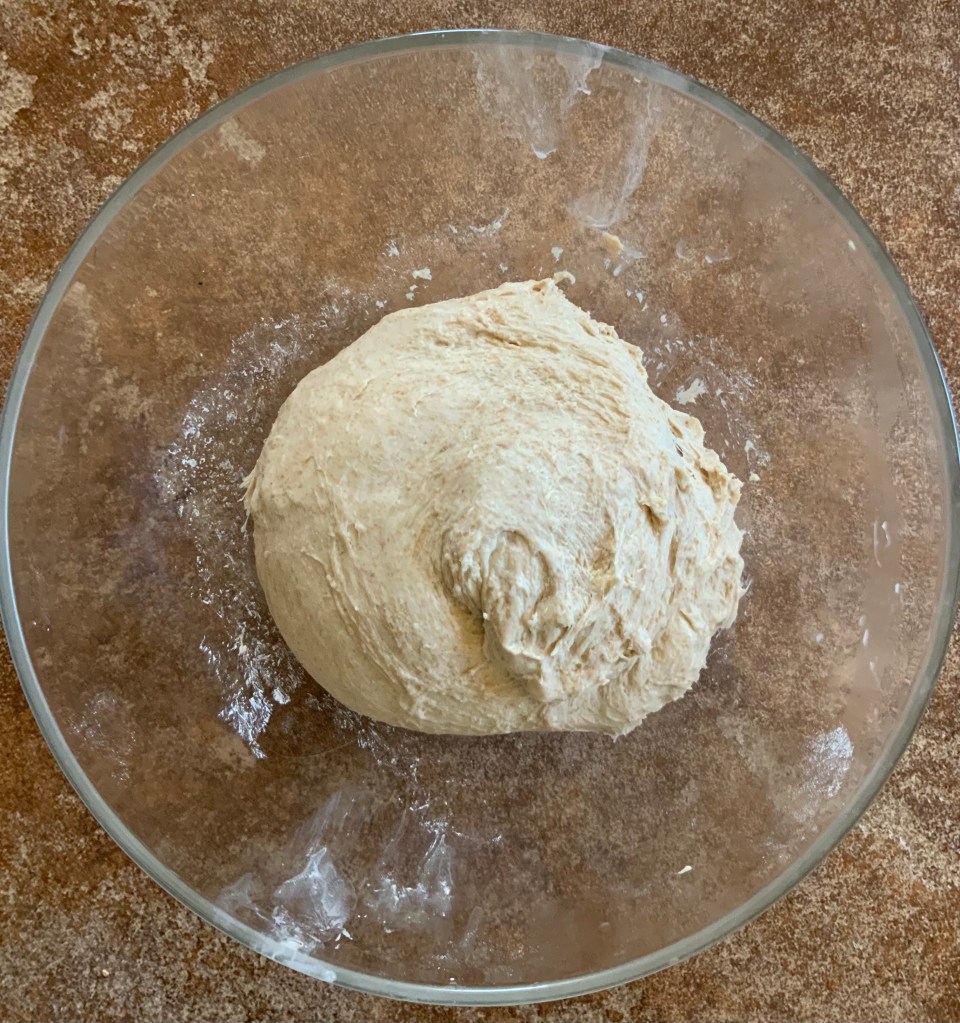
- At the end of an hour, stretch and fold the dough several times by picking it up and folding it over on itself. The video above illustrates this well.
- Here is a photo of the dough after it has been stretched and folded. It is sticky, but tends to pull away from the bowl and from hands:
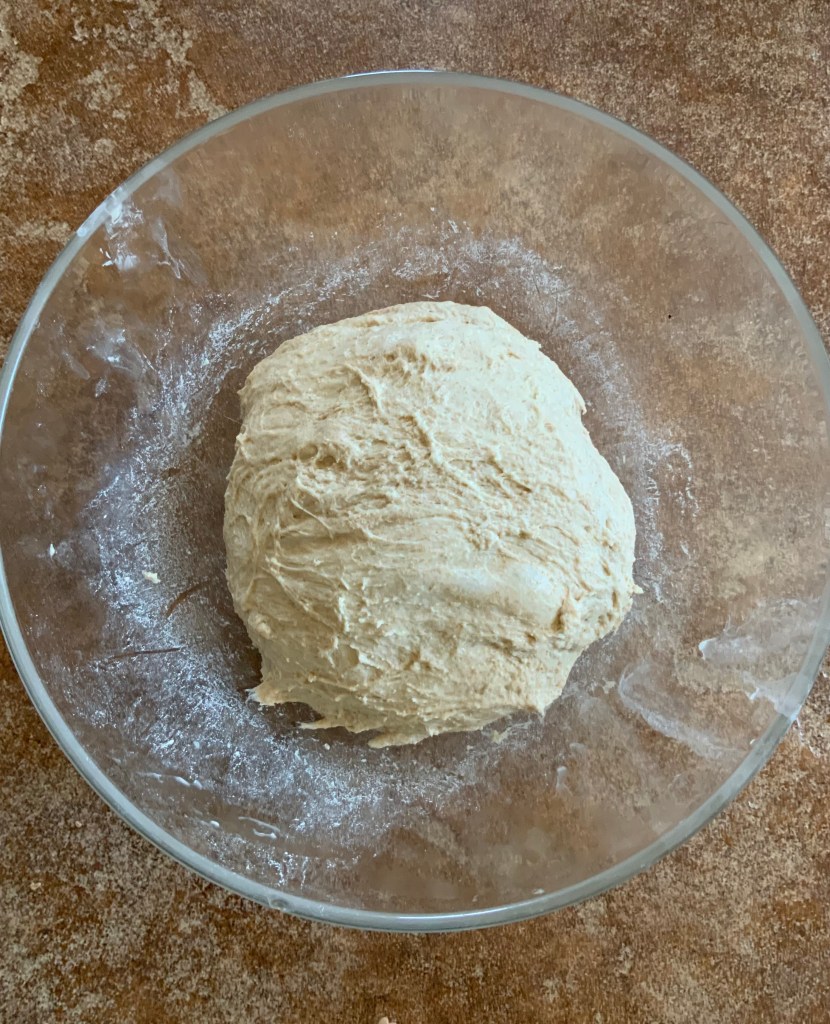
- Cover the dough and leave it to rest for another hour. At the end of an hour. Stretch and fold it again several times. The texture of the dough has become more elastic and less sticky. Air bubbles are beginning to appear:
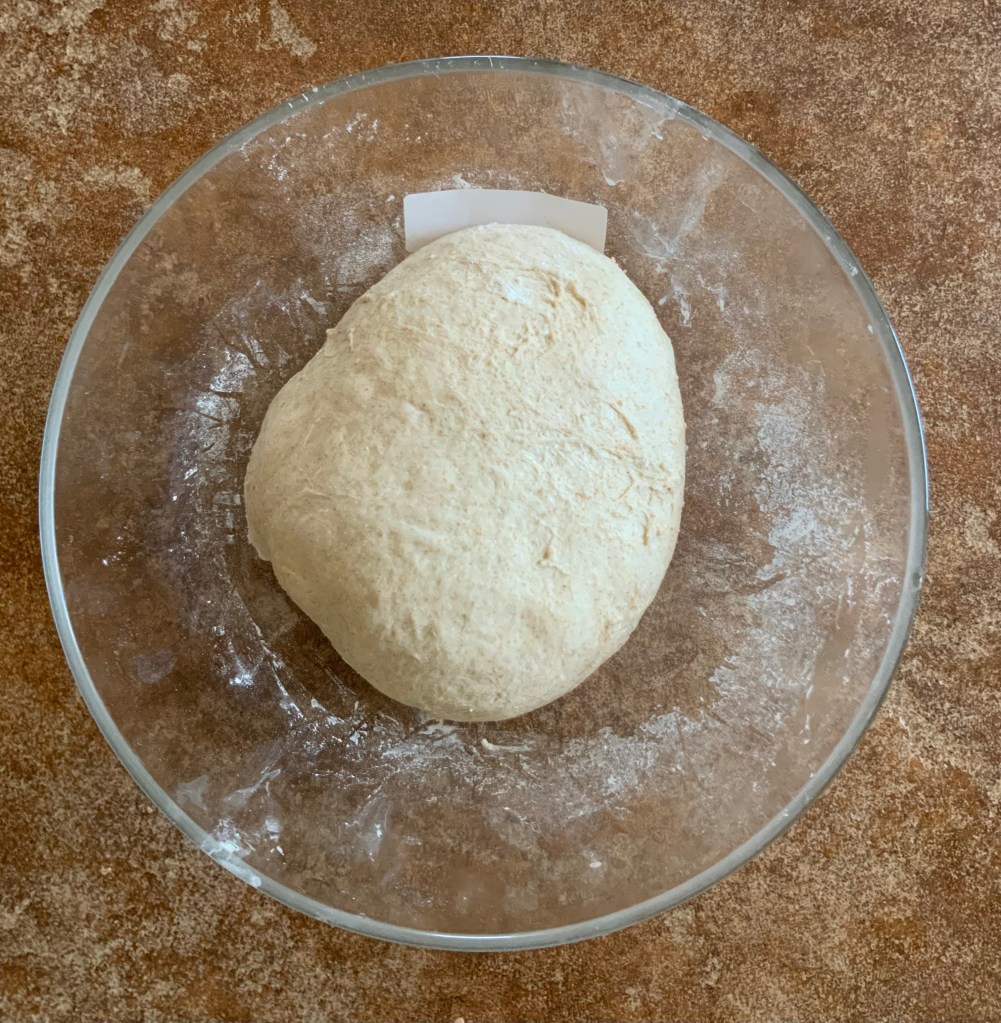
- Cover the dough and leave it to rest for another hour, then stretch and fold it again several times. The dough is springy and smooth and air bubbles are visible here and there on its surface. Mark the level of the dough on the side of the bowl. This will give you an idea of the degree to which the yeast and bacteria have worked their way through all the dough. The dough in the photo is ready to continue fermenting at room temperature, covered and undisturbed, until it is ready to bake:
- Here is a side view of the dough, about doubled in bulk and ready to bake:
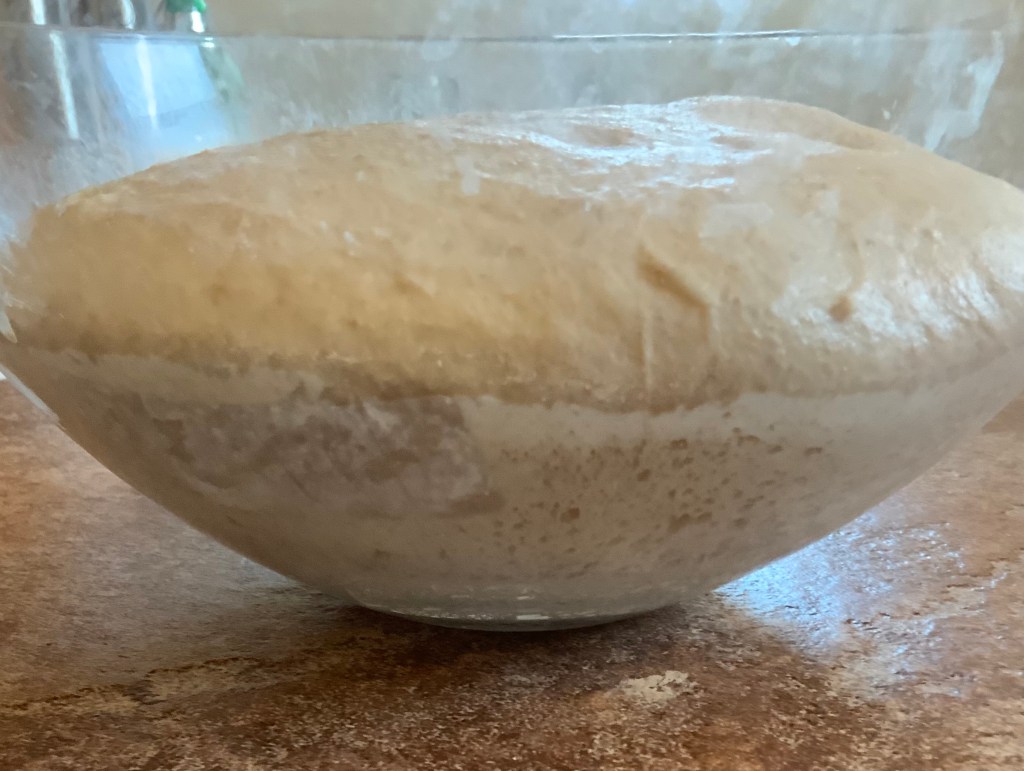
The total time from mixing to this last stage was 7 hours. The ambient temperature in the kitchen was relatively warm– around 75 F (24 C). The amount of starter was a bit more than Michiel Leijnse includes in the dough in the video. He explains how one can adjust the fermentation time by adding more or less starter and also, how, by refrigerating the dough, one can delay baking.
However, Step 3 is not delayed in the making of the loaf in this post. Step One and Step Two are completed over a 7-hour period, beginning in the morning and ending in the late afternoon. Step Three is completed in the evening.
Preparing the Parchment Nest for Baking the Loaf in a Dutch Oven
- Cut off a large sheet of parchment paper. The exact size is unimportant, but it should be large enough to come up beyond the sides of a large mixing bowl or the Dutch oven.
- Then fold this rectangle to form a rough triangle. Fold it again into a smaller triangle.
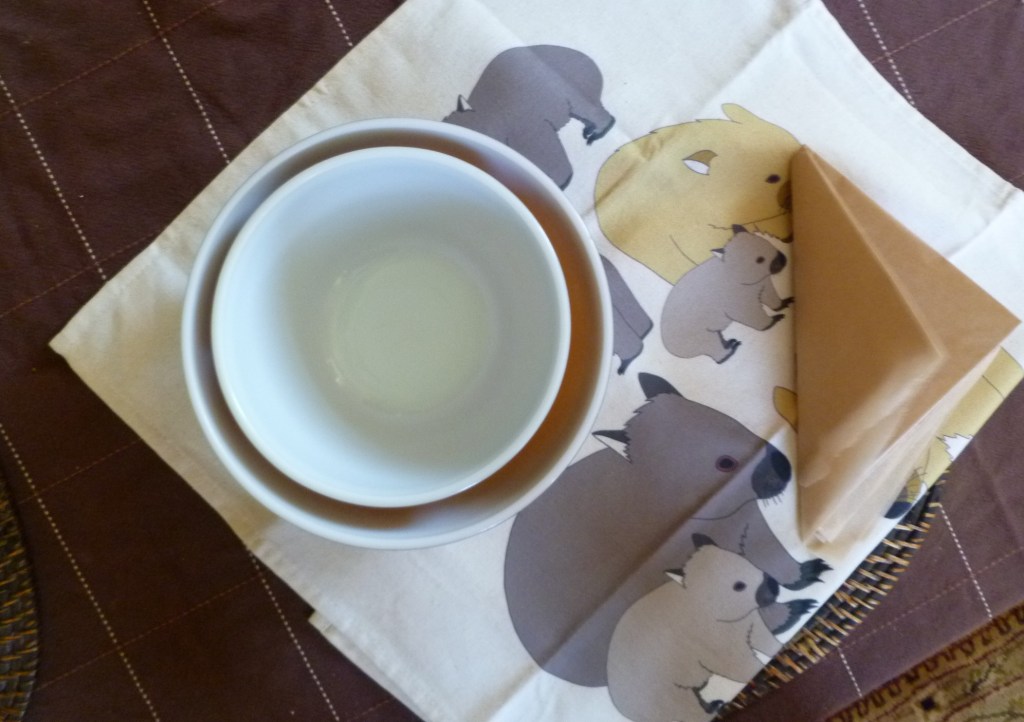
- Place the narrow point of the triangle down in the center of the large mixing bowl and unfold the paper into the bowl, pressing the pleats out and moulding the paper to fit the bowl. Place a smaller mixing bowl down onto the paper and fold the pointed edges of the paper down around the sides of the large bowl.
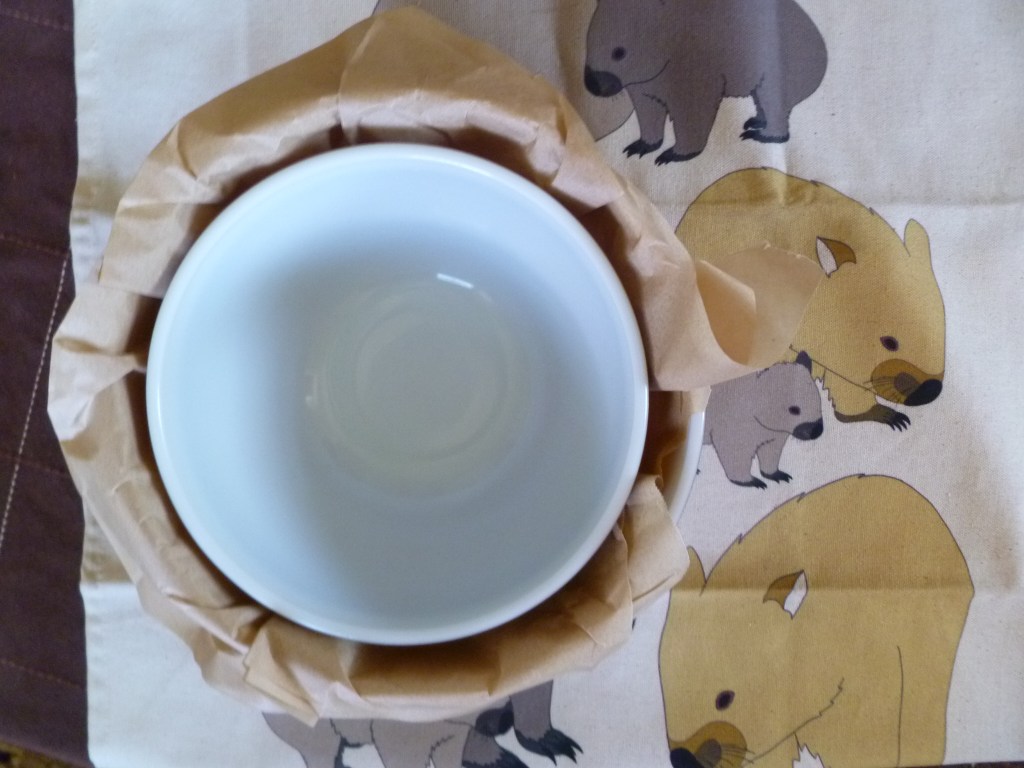
- Remove the smaller bowl. The fermented dough is formed into a round or ‘boule’ and placed in the parchment nest. It is then transferred into the preheated Dutch oven by using the parchment as a sling–lifting the loaf by the folded edges of the parchment and lowering it into the Dutch oven.
Bake
Gas or Convection Oven: thefoodlessprocessed uses a gas oven. The conversions from Fahrenheit to Celsius do not attempt to adjust for differences between baking in a gas or convection oven. I have no experience using a convection oven, and leave adjustments to the better judgement of you who do have.
- When it looks as though the fermentation of the dough is nearing completion, and if the baking is not delayed, place the Dutch oven (lid on) in a cold oven on the middle rack. Preheat the oven (along with the Dutch oven) to 240 C (465 F).
- Turn the dough gently out onto a floured board and shape it into a ball (aka boule), creating tension across its surface. Michiel Leijnse very deftly illustrates this step in the video.
- Transfer the dough to the parchment nest, smooth side up. In this version of sourdough, the loaf is not scored before baking. It is left to cleft naturally on its own. The loaf in the video is tipped bottom side up into the cloche and the bread clefts along the lines of the fold. Using the Dutch oven method, the loaf is transferred smooth side up down into the oven and clefts of its own accord.
- Transfer the boule to the Dutch oven, using the parchment as a sling–lifting the loaf by the folded edges of the parchment and lowering it into the Dutch oven.
- Bake for 30 minutes with the lid on.
- Remove the lid and continue to bake for another 25 minutes.
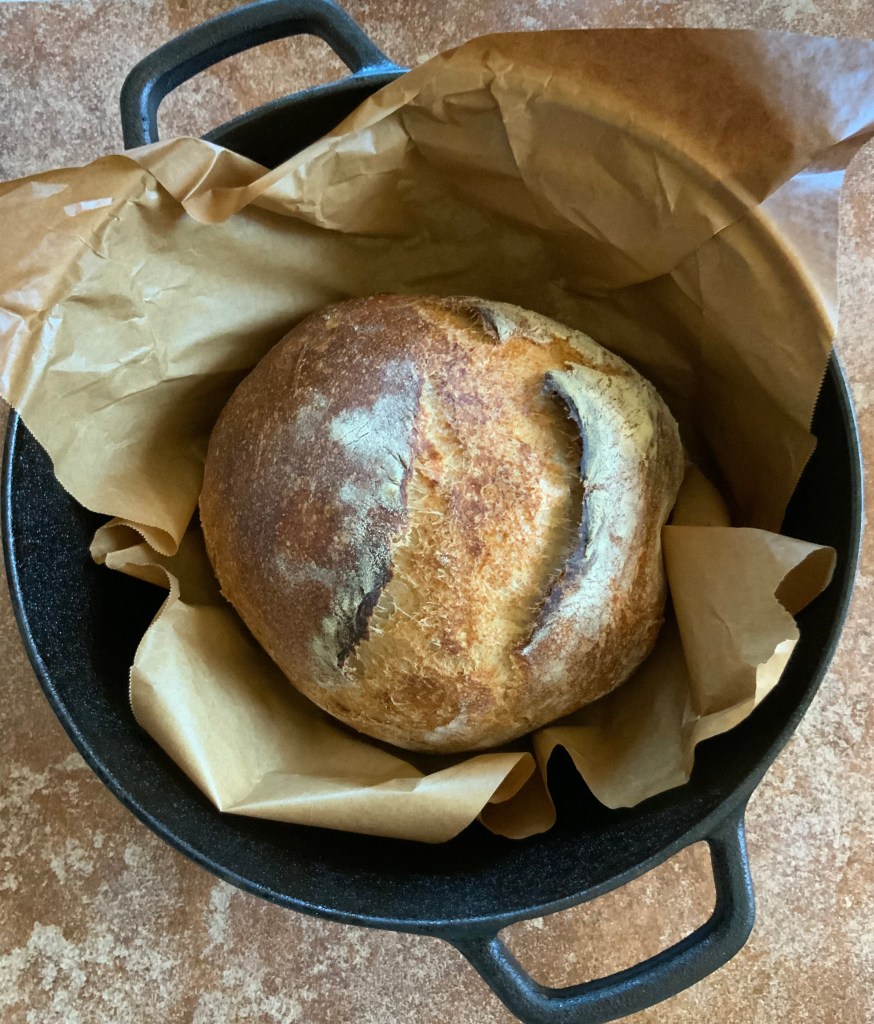
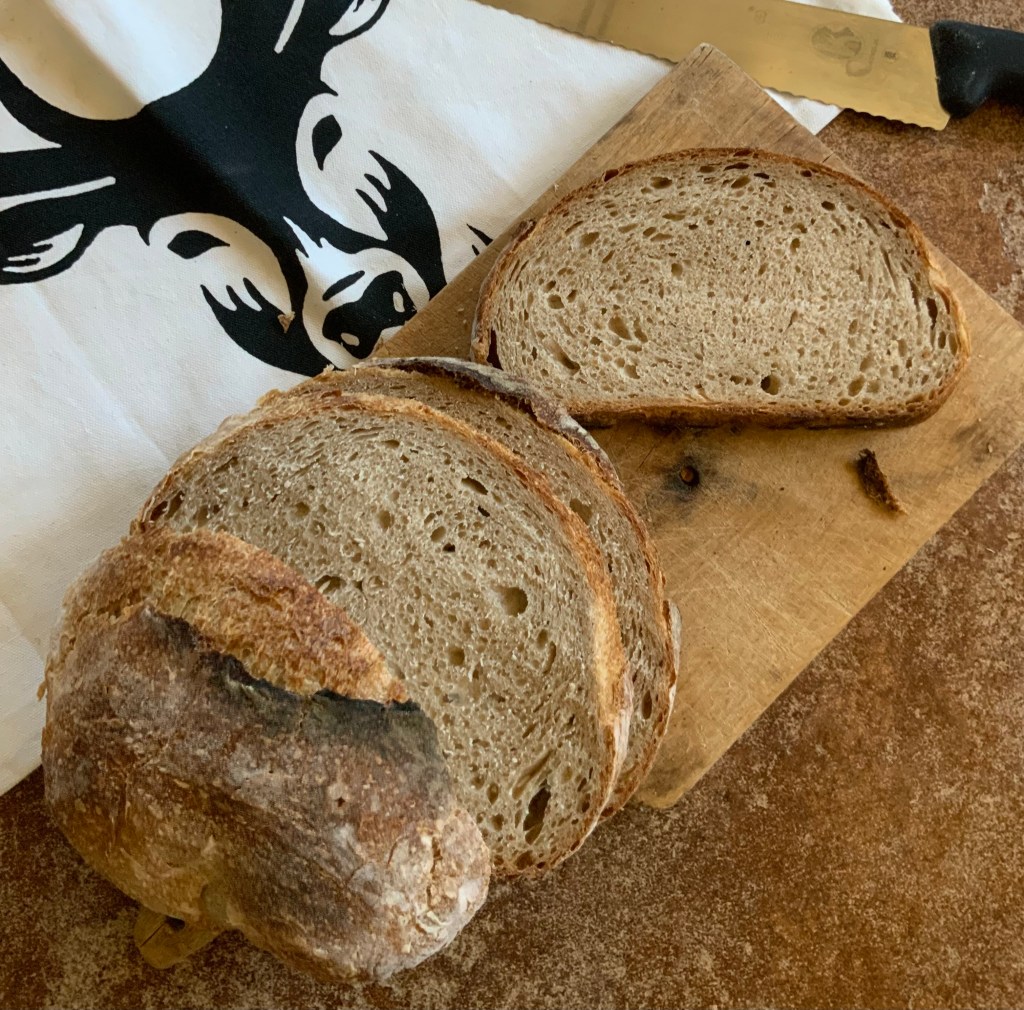
- Cool the loaf for 2 hours before slicing it.


 thefoodlessprocessed
Leave a comment